Think about the last time you watched a home video from the 1980s or 90s. Maybe it was a birthday party, a school play, or a family vacation. The people in it look younger than you remember. The colors look washed out. The picture shakes and flickers. And if you haven't watched that tape in years, there's a reason it looks worse than you remember: it's actually falling apart.
Why VHS Tapes Are Dying
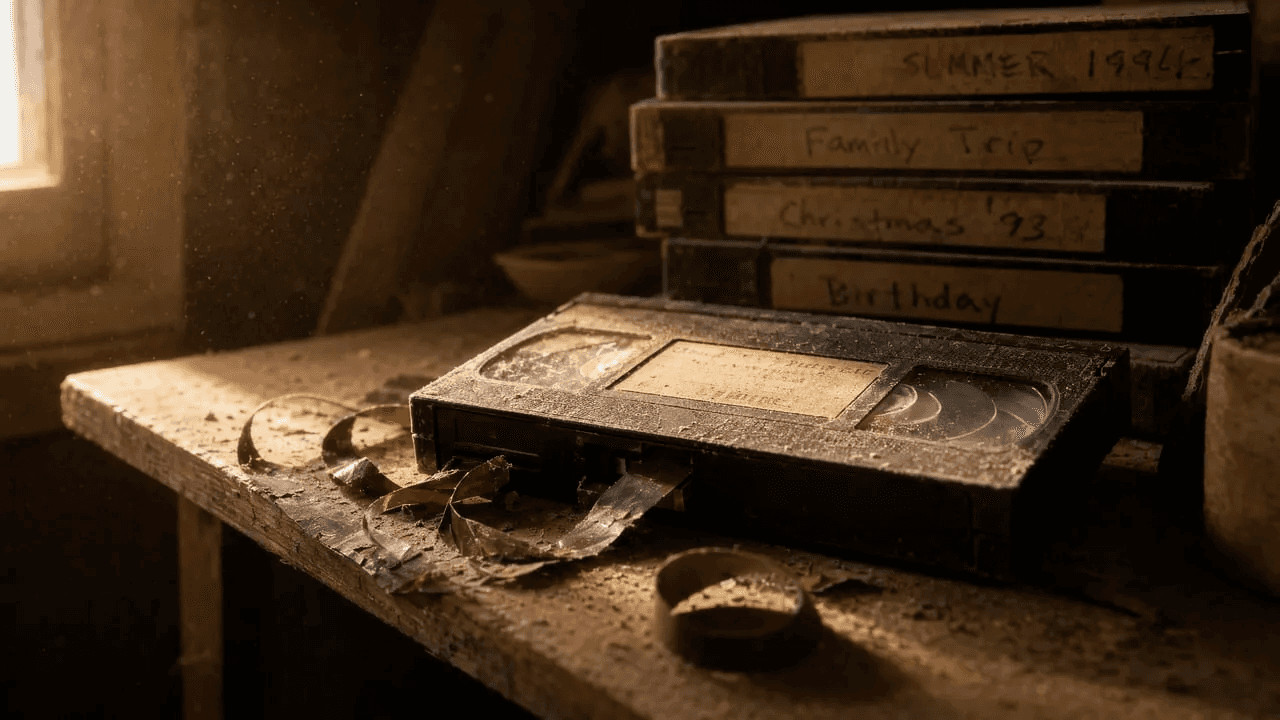
VHS tapes don't last forever. Most have a lifespan of 10 to 30 years, and that clock started ticking the day they were made. Tapes from the 80s and 90s are now 20 to 40 years old, which means many have already passed their expected lifespan.
The problem is built into the format. A VHS tape stores video on a ribbon coated with magnetic particles — essentially rust glued to plastic. Over time, that coating breaks down. Heat and humidity speed up the process. Even tapes sitting untouched in a box lose quality, because the binder holding the magnetic layer slowly absorbs moisture and weakens. On average, tapes degrade 10 to 20 percent over 10 to 25 years.
The result is gradual and irreversible. Colors fade, the picture gets noisy, audio distorts, and sections of video drop out entirely. Every playback makes it a little worse. If your family's memories are still on VHS, the question isn't whether they'll degrade. It's how much time you have left to save them.
The Three-Stage Workflow: Capture, Enhance, Archive
Restoring old videos happens in three stages. First, you capture the analog footage and convert VHS to digital. Second, you use AI to enhance and upscale the digital file. Third, you archive the result so it lasts. Each stage matters. Skip the first and you have nothing to work with. Skip the second and you're stuck with a low-quality copy. Skip the third and you'll be back here in another decade.
Stage 1: Capturing VHS to Digital

Before any AI can touch your footage, you need to get it off the tape. This is the vhs to digital step, and it requires a few pieces of hardware.
You'll need a working VCR, a video capture device (a small USB adapter that connects the VCR to your computer, e.g. Nero Recode Stick), and capture software. The VCR plays the tape. The capture device takes the analog signal and converts it to a digital video file, usually MP4 or AVI. The software records that file to your hard drive.
A few things help. Play the tape once before capturing to check for damage. Clean the VCR heads if the picture is tracking poorly. Capture at the highest quality your setup allows, because this digital copy is the foundation everything else builds on. You can always reduce quality later, but you can't add back detail that was lost during capture.
The output at this stage is typically 480p — standard definition. Colors are often shifted, the image is grainy, and motion can be jerky. This is where AI comes in.
If you are still comparing tools before enhancing your digitized footage, see our guide to the best AI video enhancer for Windows. It compares desktop AI video enhancers for 480p to 1080p footage, including old family videos, VHS captures, and restoration use cases.
Stage 2: AI Enhancement with Nero AI Video Upscaler
Once you have a digital file, AI video upscaling can transform it. This is where you convert VHS to 4K, or even push it to 8K, depending on your source material.
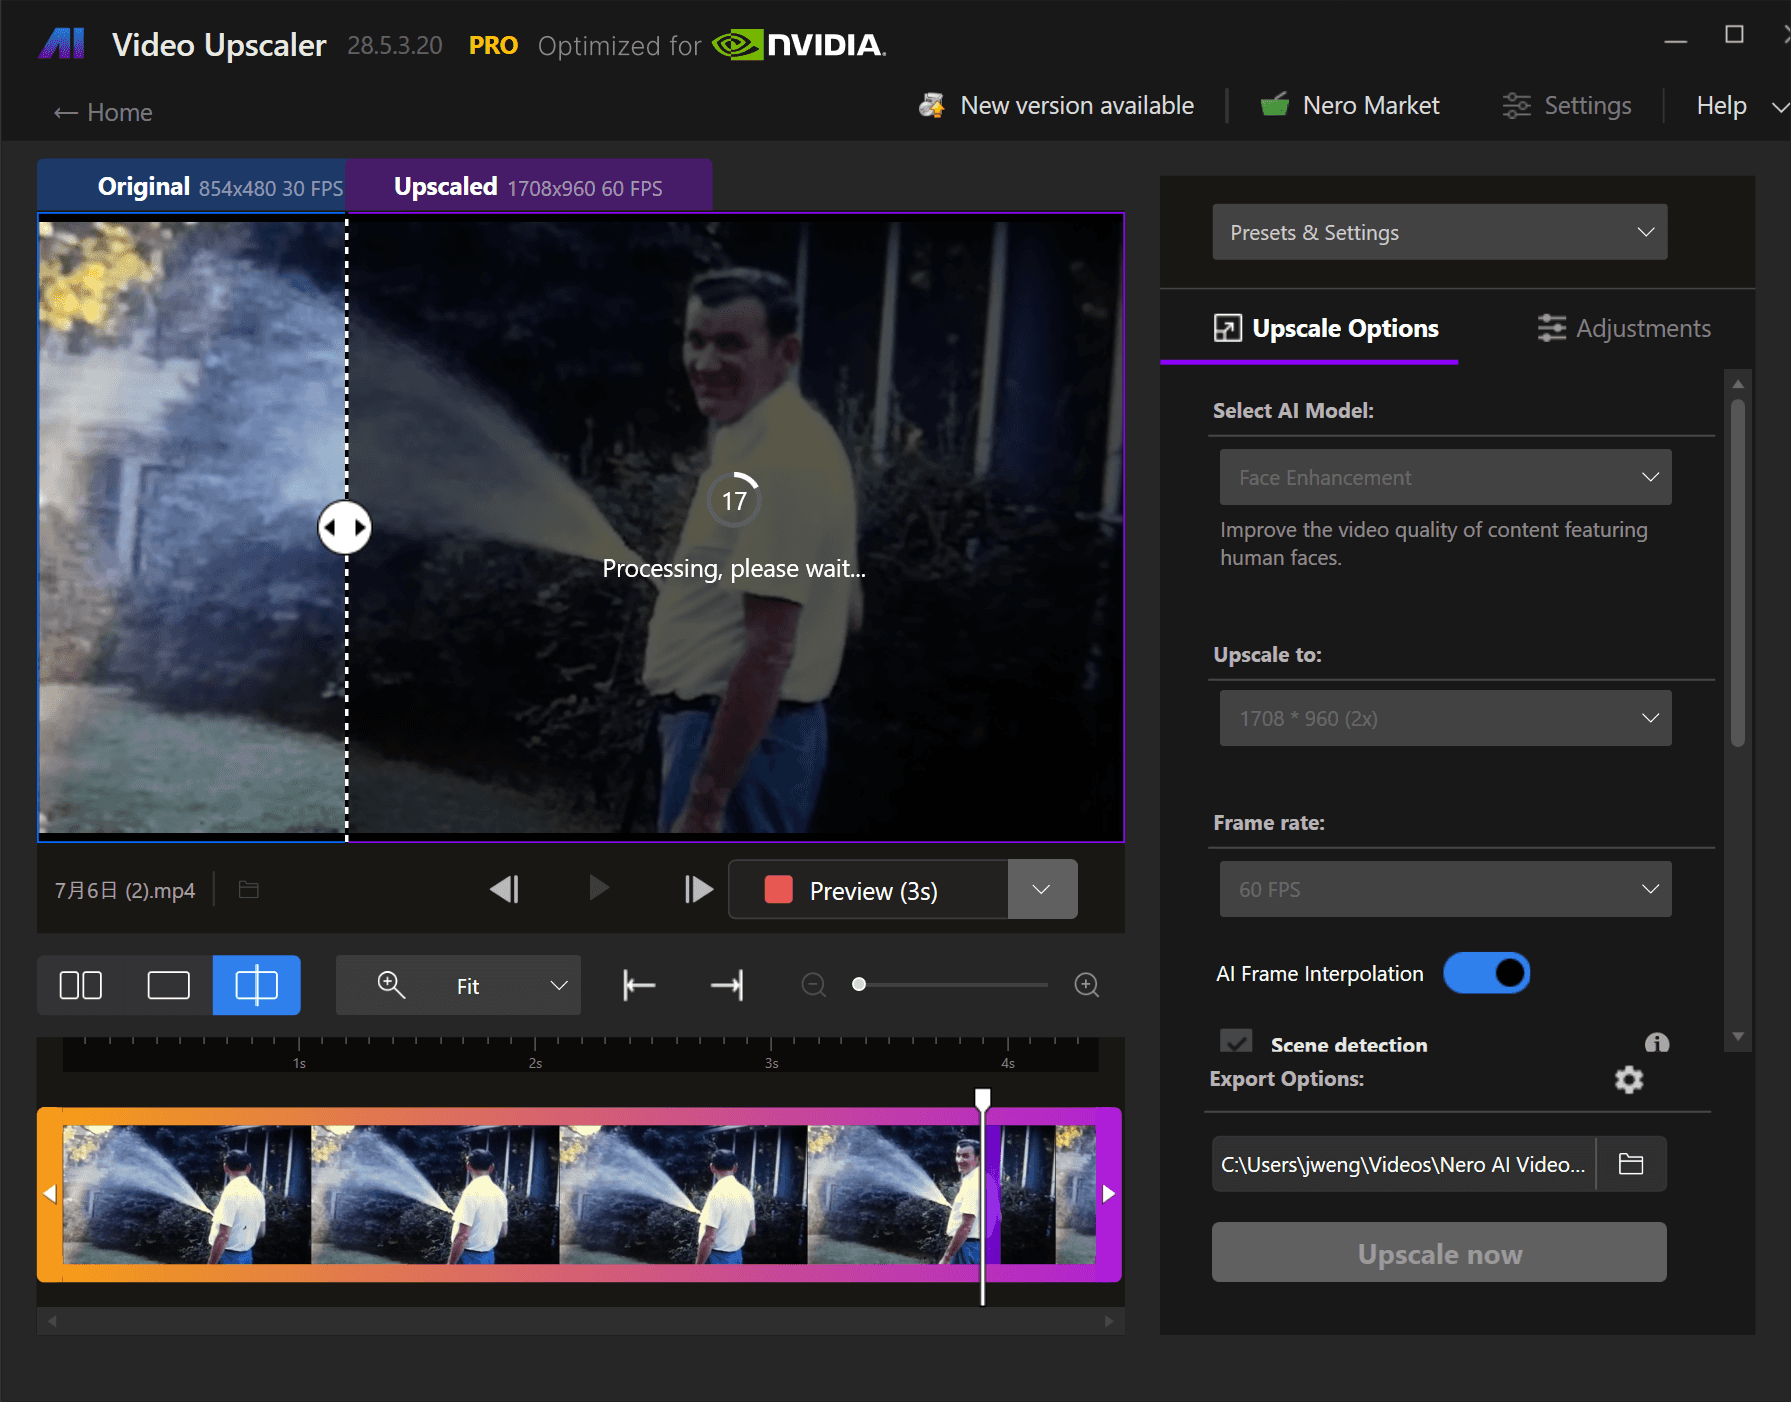
Nero AI Video Upscaler offers several AI models for different types of content — Fast, Animation, Realistic, Versatile, and Face Enhancement. In 2026, Nero added a sixth model called Restoration, built specifically for old, low-resolution, or compressed footage. It's designed to recover fine textures and revive footage that has degraded over time.
Choosing the Right Model
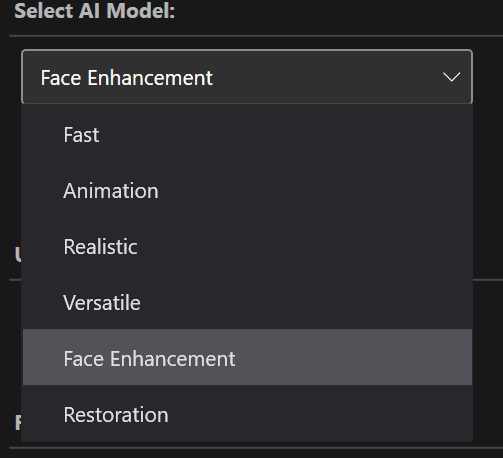
The model you pick depends on what your footage looks like. VHS captures vary a lot — some tapes held up well in storage, others are soft and washed out. Nero gives you six models, and matching the right one to your footage makes a real difference in the result.
If your capture is relatively clear — the image is noisy but you can still make out faces and details — use Restoration or Versatile. Both enhance fine detail without overprocessing. Restoration is tuned specifically for old, compressed footage, so it's the natural first choice for VHS. Versatile is a good fallback if Restoration feels too aggressive on certain clips.
If your footage is noticeably blurry — faces are hard to recognize, edges smear together — try Realistic or Restoration. Realistic is designed for true-to-life video and handles heavy softness well. Restoration again works here because it's built to recover detail from degraded sources. You may want to test both on a short clip and compare.
Face Enhancement deserves a separate note. It focuses on facial details — eyes, mouths, skin texture — rather than the background. If your home video is mostly people, which most are, it's worth enabling. But it won't sharpen the scenery behind your subjects, so don't expect it to fix the whole frame on its own.
Settings Beyond the Model
Picking the model is only the first step. Three other settings shape the final output:
Upscale size. This is your target resolution. You can go from 480p all the way to 4K or 8K, but it's not recommended to push too far from the original size. A 480p VHS capture upscaled to 1080p or 4K looks natural. Jumping straight to 8K from the same source can introduce artifacts, because the AI has to invent too much missing detail. Match the target to what the source can realistically support.
Frame rate. VHS typically runs at 25 or 30 frames per second. Frame interpolation generates new frames between the existing ones, smoothing out motion. This is optional. For choppy camcorder footage, bumping to 60 fps can make playback feel more natural. For footage that already plays smoothly, leaving the frame rate unchanged is fine.
Color adjustment. VHS tapes shift color over time — reds fade, skin tones go green or blue, everything takes on a dull cast. Nero's color tools let you correct these shifts, bringing colors closer to what they should look like. Adjust warmth and saturation gently; heavy shifts can make old footage look unnatural.
Preview Before You Process
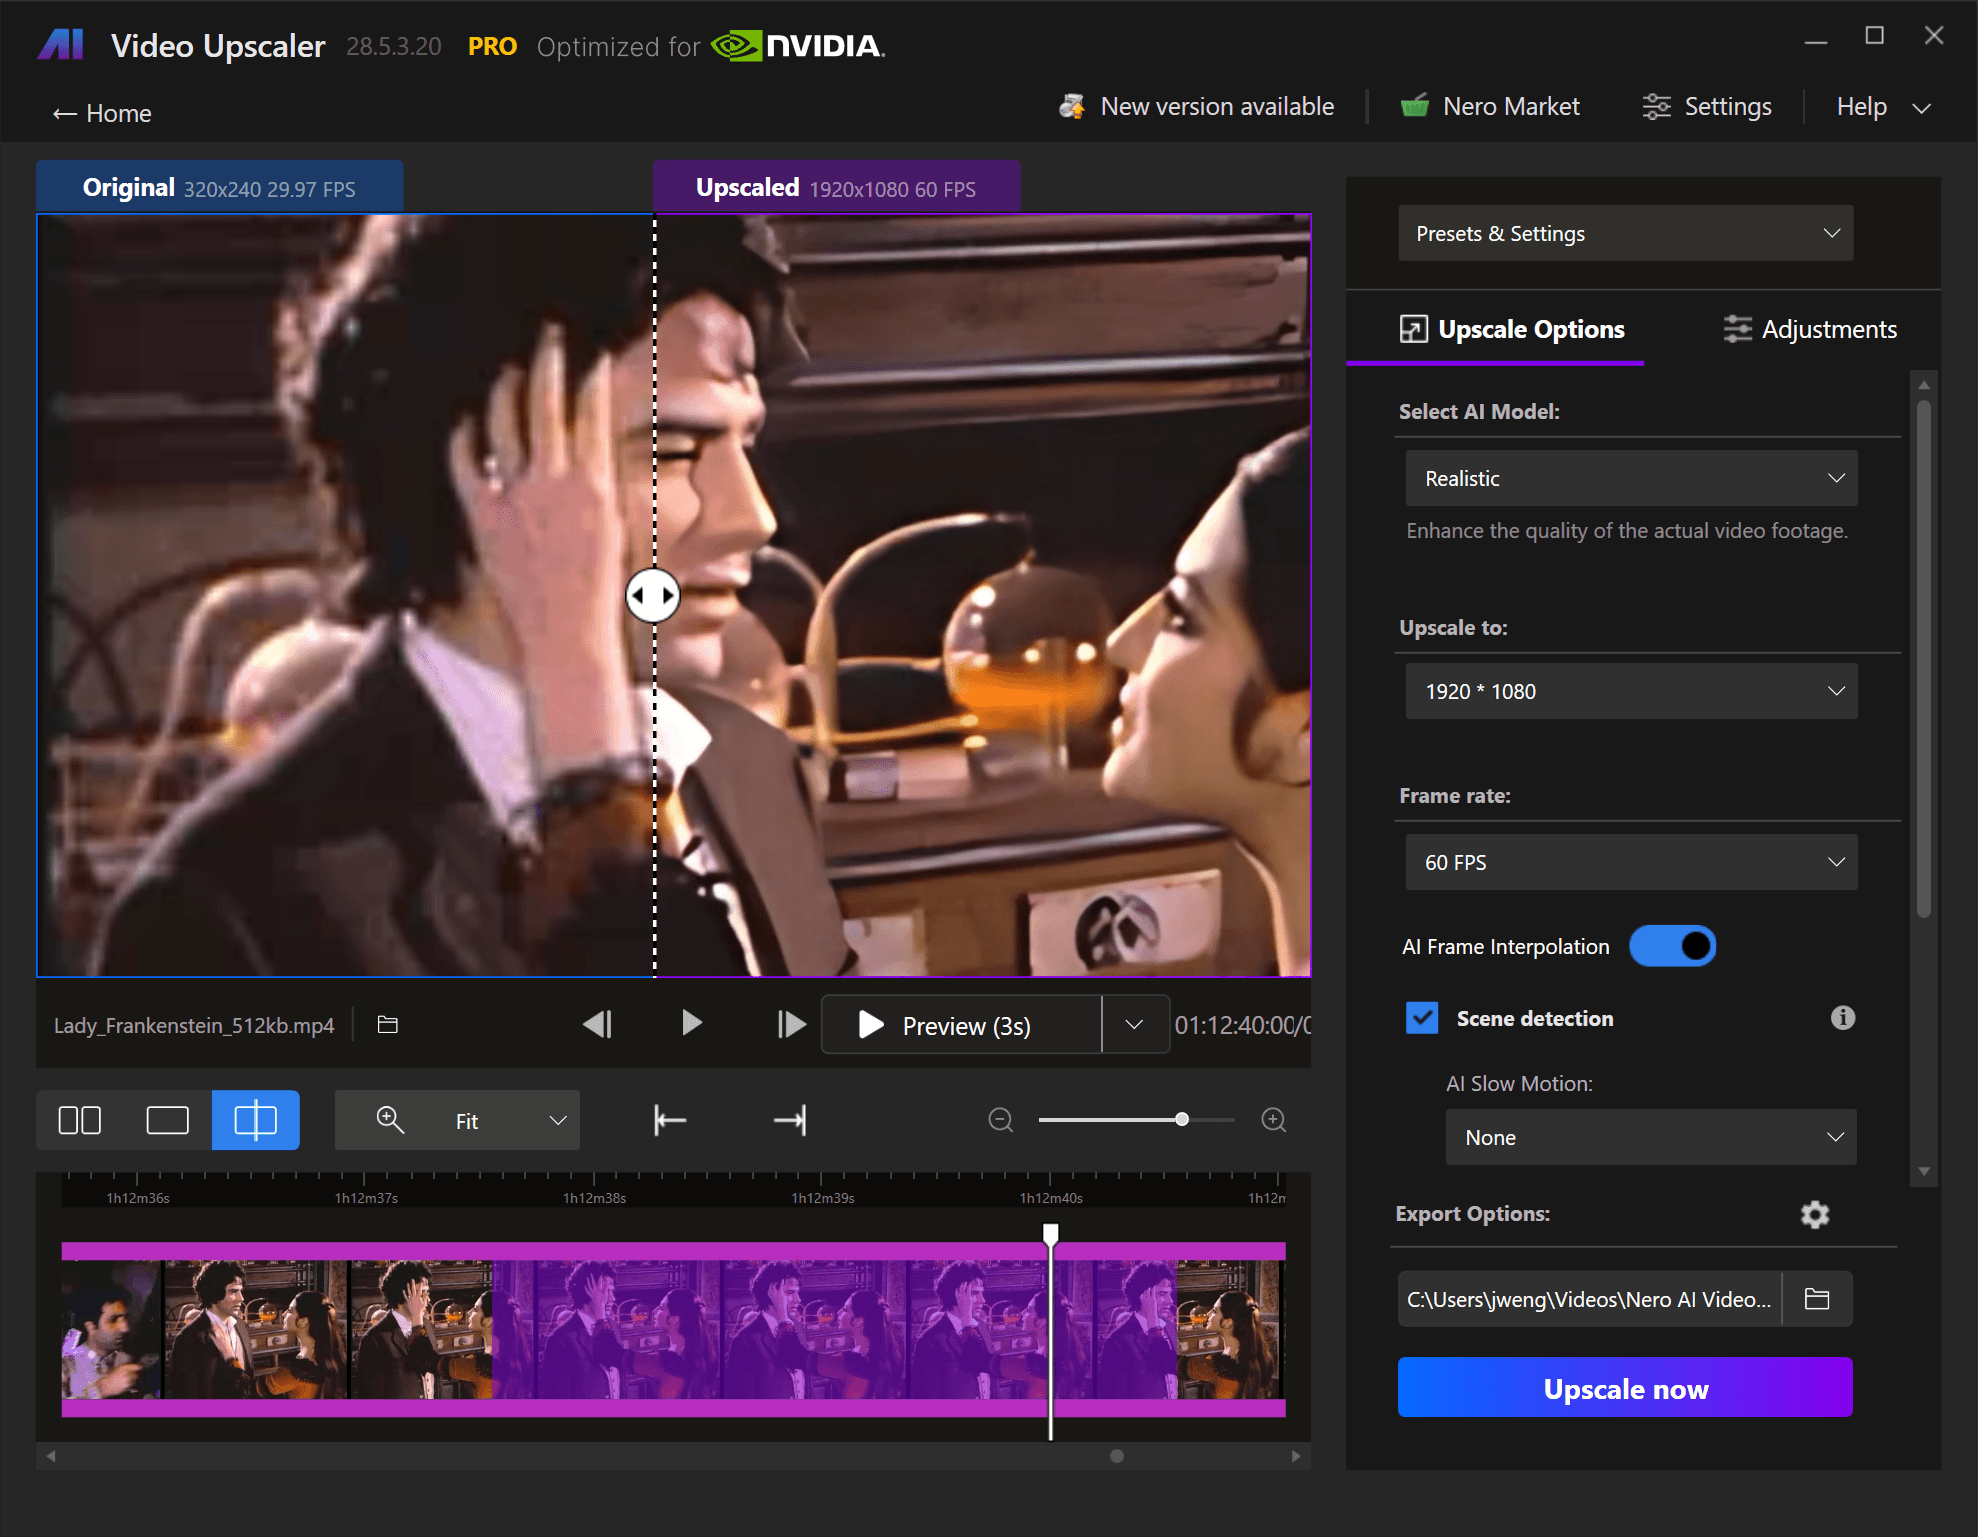
Before committing to a full processing run, use the Preview feature. It renders a short sample of your footage with the selected model and settings, so you can see whether the combination actually works for your specific tape. A model that performs well on one clip might look wrong on another — lighting, tape condition, and recording quality all vary, even within the same cassette.
Preview is fast, and it saves you from wasting time on a full upscale that doesn't look right. If the preview looks good, run the full video. If something feels off — too smooth, too sharp, colors still shifted — switch the model or adjust the settings and preview again. Nero also supports batch import, so once you've settled on the right combination, you can queue up multiple tapes and process them together.
Stage 3: Archiving for the Long Term
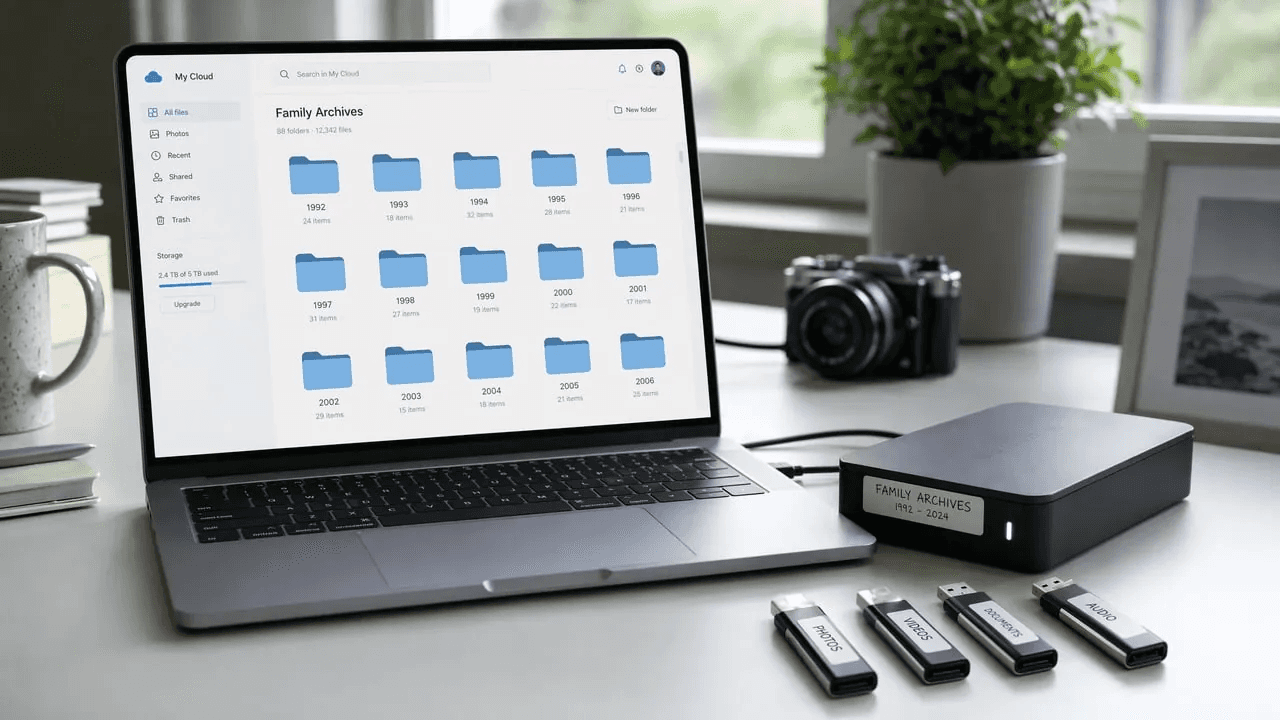
The final step is making sure your restored video doesn't get lost. Unlike magnetic tape, digital files don't decay on their own. But they can be lost to hard drive failures, accidental deletion, or format obsolescence.
Store your restored videos in at least two places. An external hard drive is good for quick access. Cloud storage — Google Drive, Dropbox, iCloud — provides a backup that survives hardware failure. For the master copy, keep the highest quality version. For sharing with family, create a smaller H.264 or H.265 version that's easy to email or post online.
Name your files clearly. "Family_Vacation_1992_4K_Restored" tells you everything five years from now. "video001_final" does not.
Getting Started
If you have VHS tapes at home, start with the capture step this week. The tapes aren't getting any younger. Once you have digital files, Nero AI Video Upscaler's Restoration model is built to handle exactly the kind of footage you'll have: old, soft, noisy, and full of memories worth saving.
Ready to bring your old videos back to life? Try the Nero AI Video Upscaler and see what your memories look like in 4K.