If you've been looking for a powerful yet beginner-friendly video editor on Windows, Nero Video deserves a serious look. Beyond its simple Express mode, it offers an Advanced Movie mode that gives you full timeline control — transitions, keyframes, music tracks, and more. This guide walks you through exactly how to use it.
What Is Nero Video's Advanced Mode?
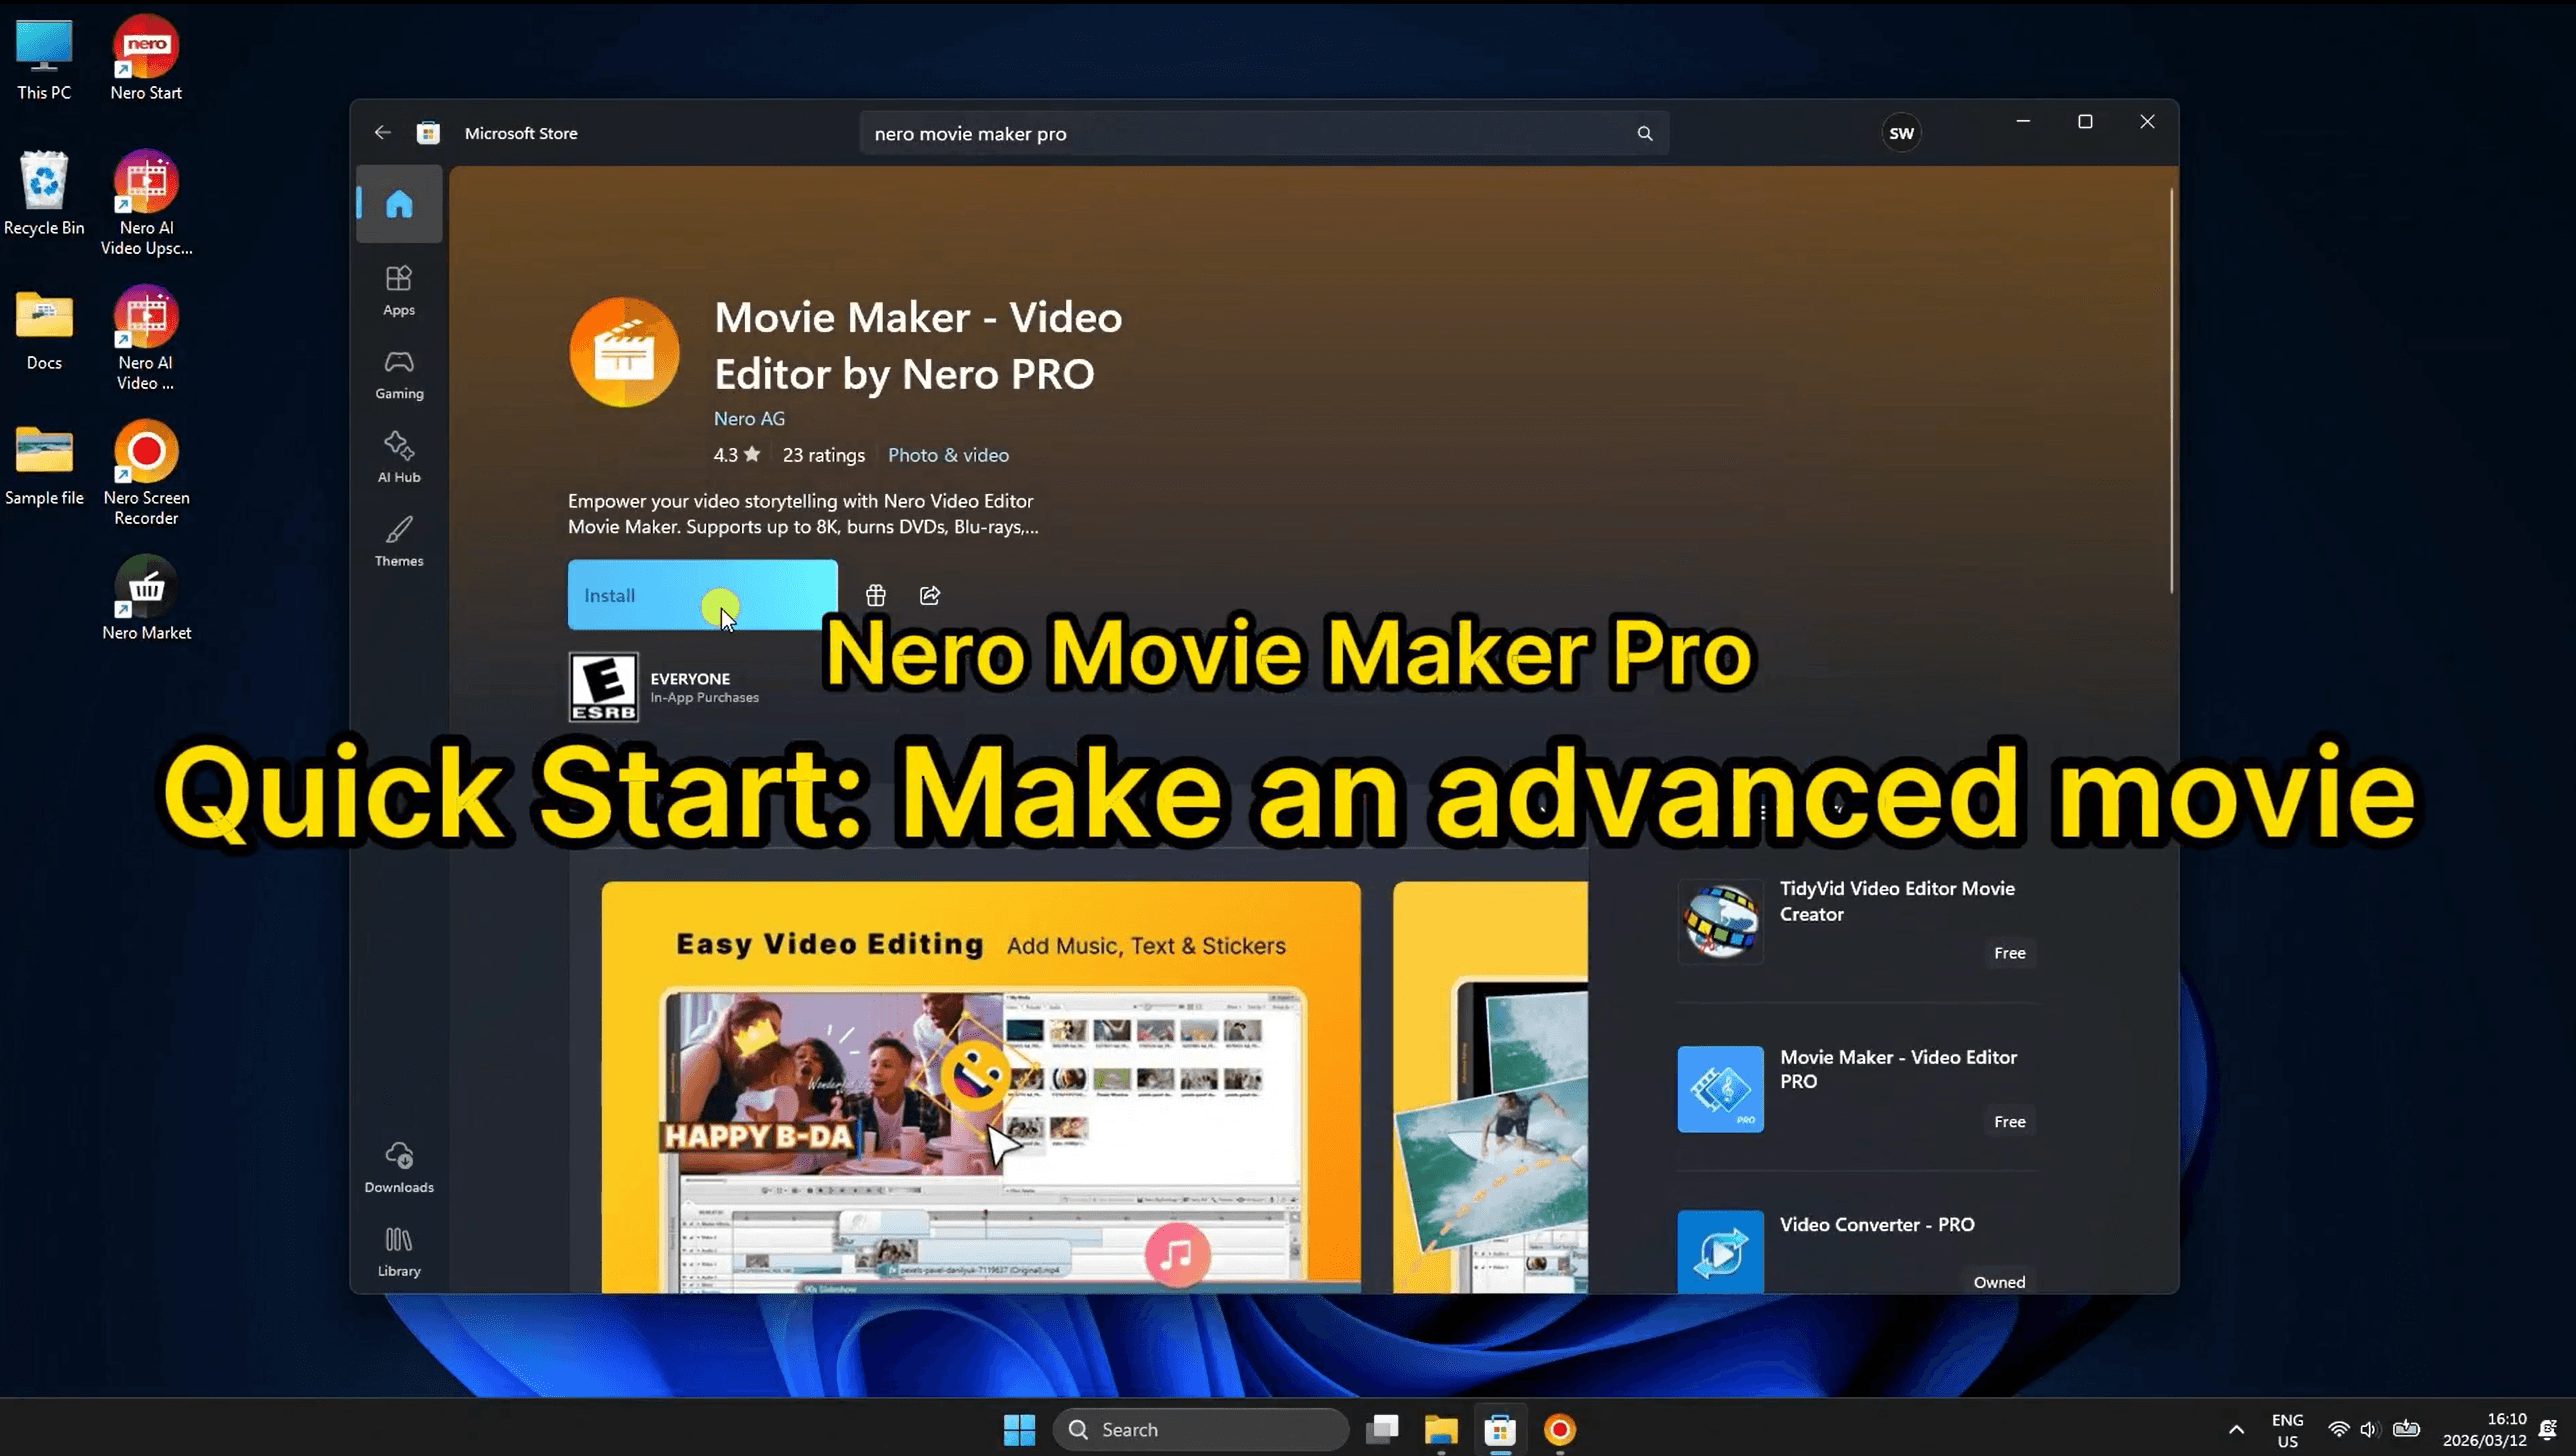
Nero Video is a full-featured video editing application available on the Microsoft Store. While it offers quick-edit options for beginners, its Advanced Movie mode is where the real editing power lives — giving you a multi-track timeline, effect palette, and keyframe controls similar to professional editors.
It hits a sweet spot that many editors miss: powerful enough for serious projects, but won't overwhelm you on day one. Here's who will get the most out of it:
Beginners who've outgrown simple editors — If basic drag-and-drop feels too limiting but Premiere Pro feels like overkill, Advanced Mode is the perfect next step.
Windows users wanting an all-in-one tool — Available directly on the Microsoft Store, it handles editing, music, effects, and export in one place.
Content creators on a budget — The free version covers the full core workflow; upgrade to PRO only when you need more.
Hobbyists making travel videos, family films, or vlogs — The built-in music library, transitions, and keyframe animation are tailor-made for this content.
Occasional editors — The interface is clean enough that you won't need to relearn it every time you come back after a few weeks away.
If you're a professional colorist or VFX artist, you'll likely need something more specialized. But for the vast majority of everyday creators, Nero Video's Advanced Mode delivers everything you need — without the frustration.
Step-by-Step: How to Make an Advanced Movie in Nero Video
Step 1: Open "Make Advanced Movie"
From the Nero Video home screen, look under the Edit & Export File section and click "Make Advanced Movie". This launches the full timeline editor — don't confuse it with the simpler Express Movie option above it.

Step 2: Import Your Video Clips
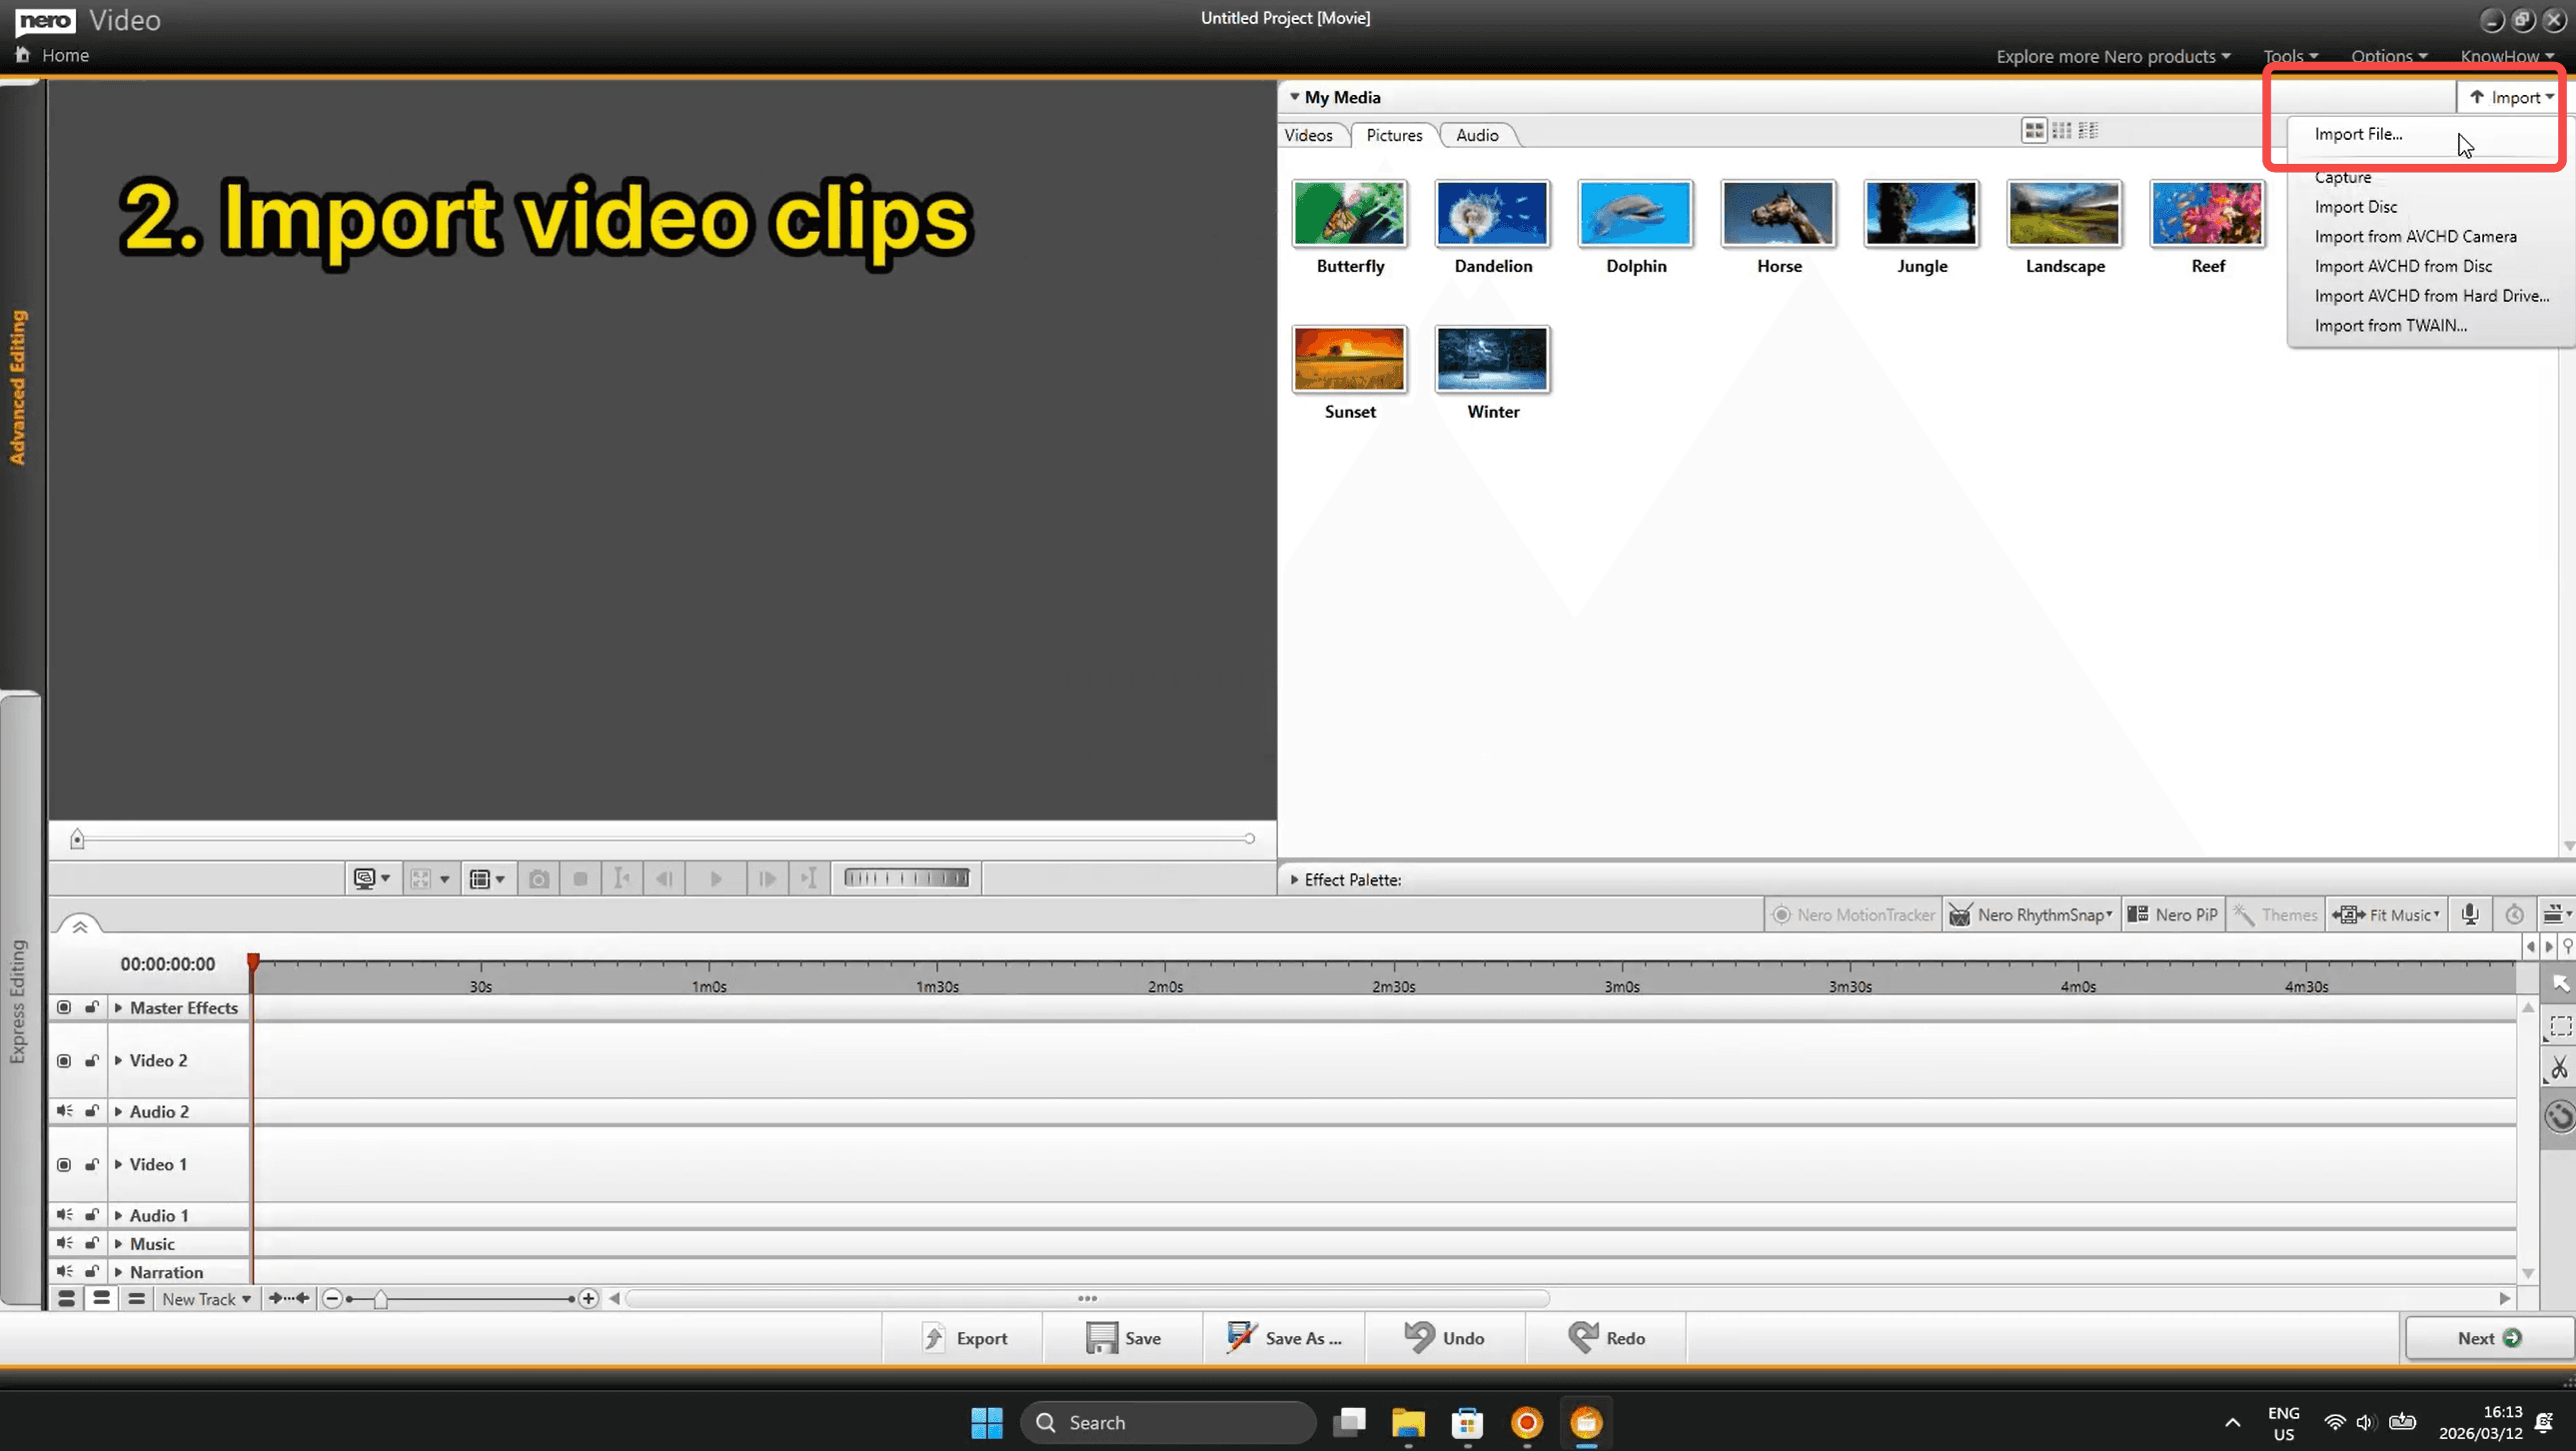
Once inside the editor, click the Import button in the top-right corner of the My Media panel. You can import from file, disc, AVCHD camera, or even a TWAIN device. Your clips will appear in the media library as thumbnails, ready to use.
Step 3: Drag Clips to the Timeline
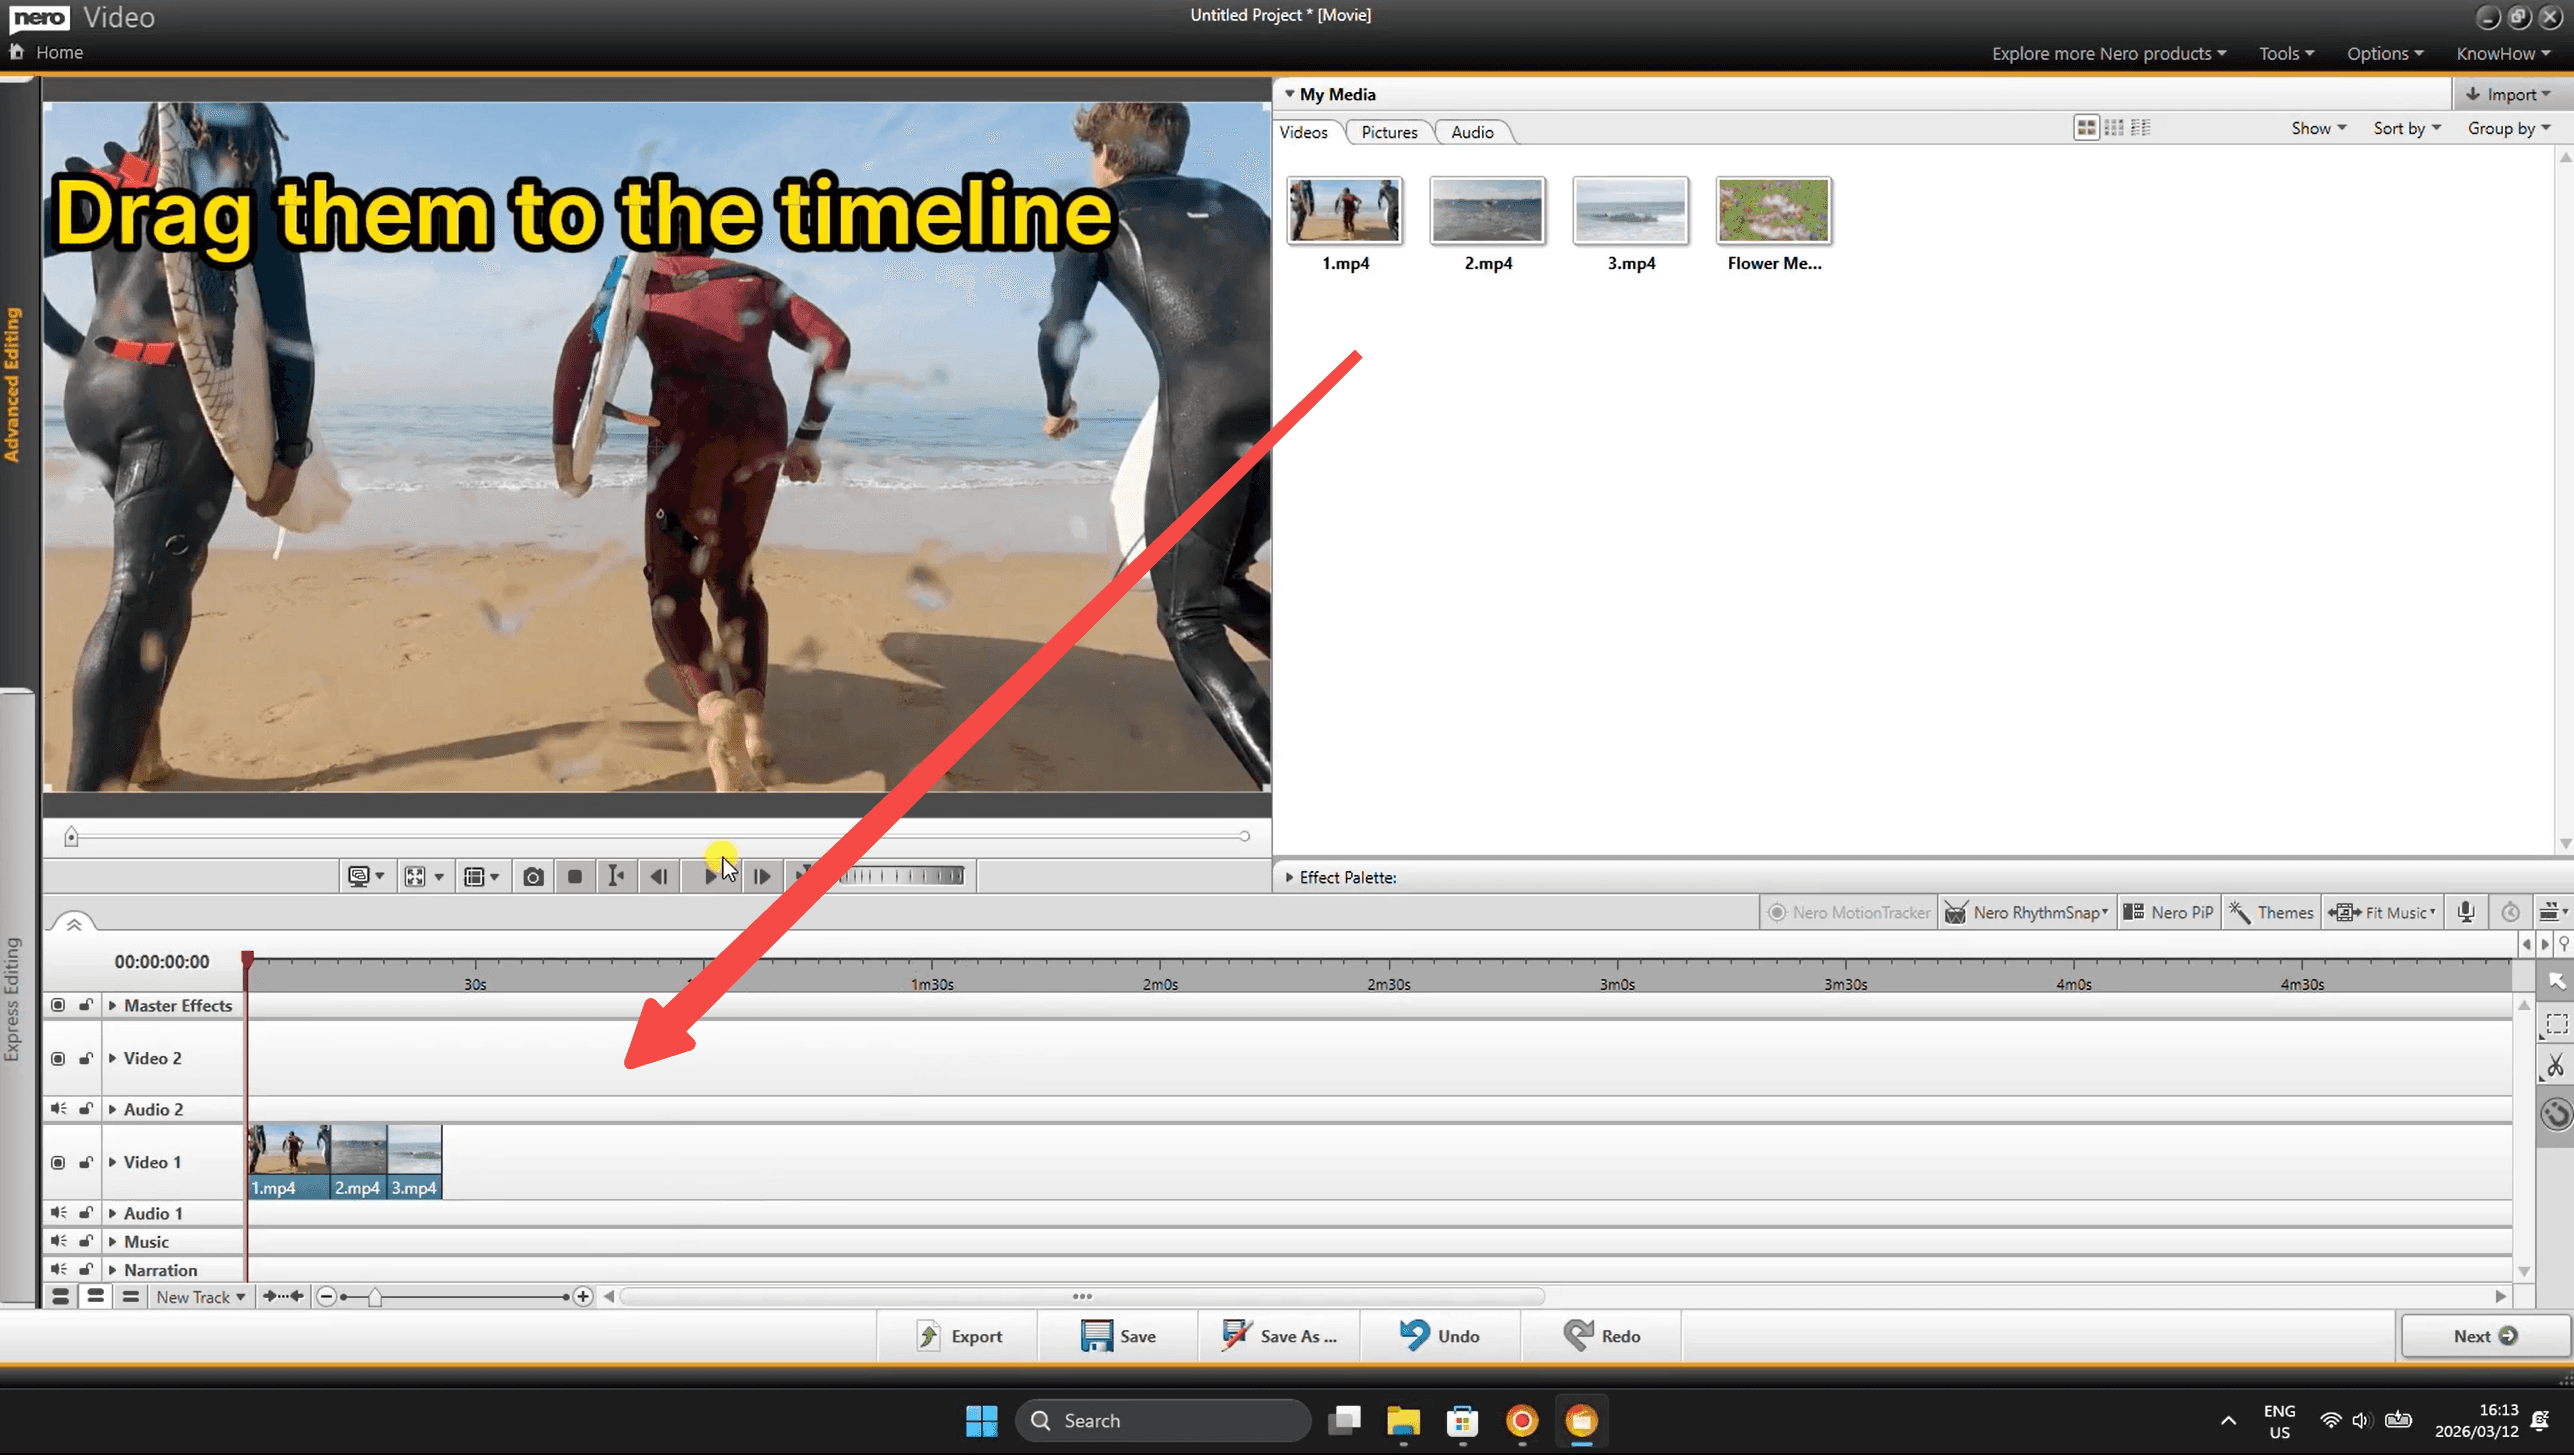
With your clips in the media panel, simply drag and drop them onto the Video 1 track in the timeline below. You can add multiple clips one after another — they'll line up sequentially on the track.
Step 4: Cut Clips with the Scissors Tool
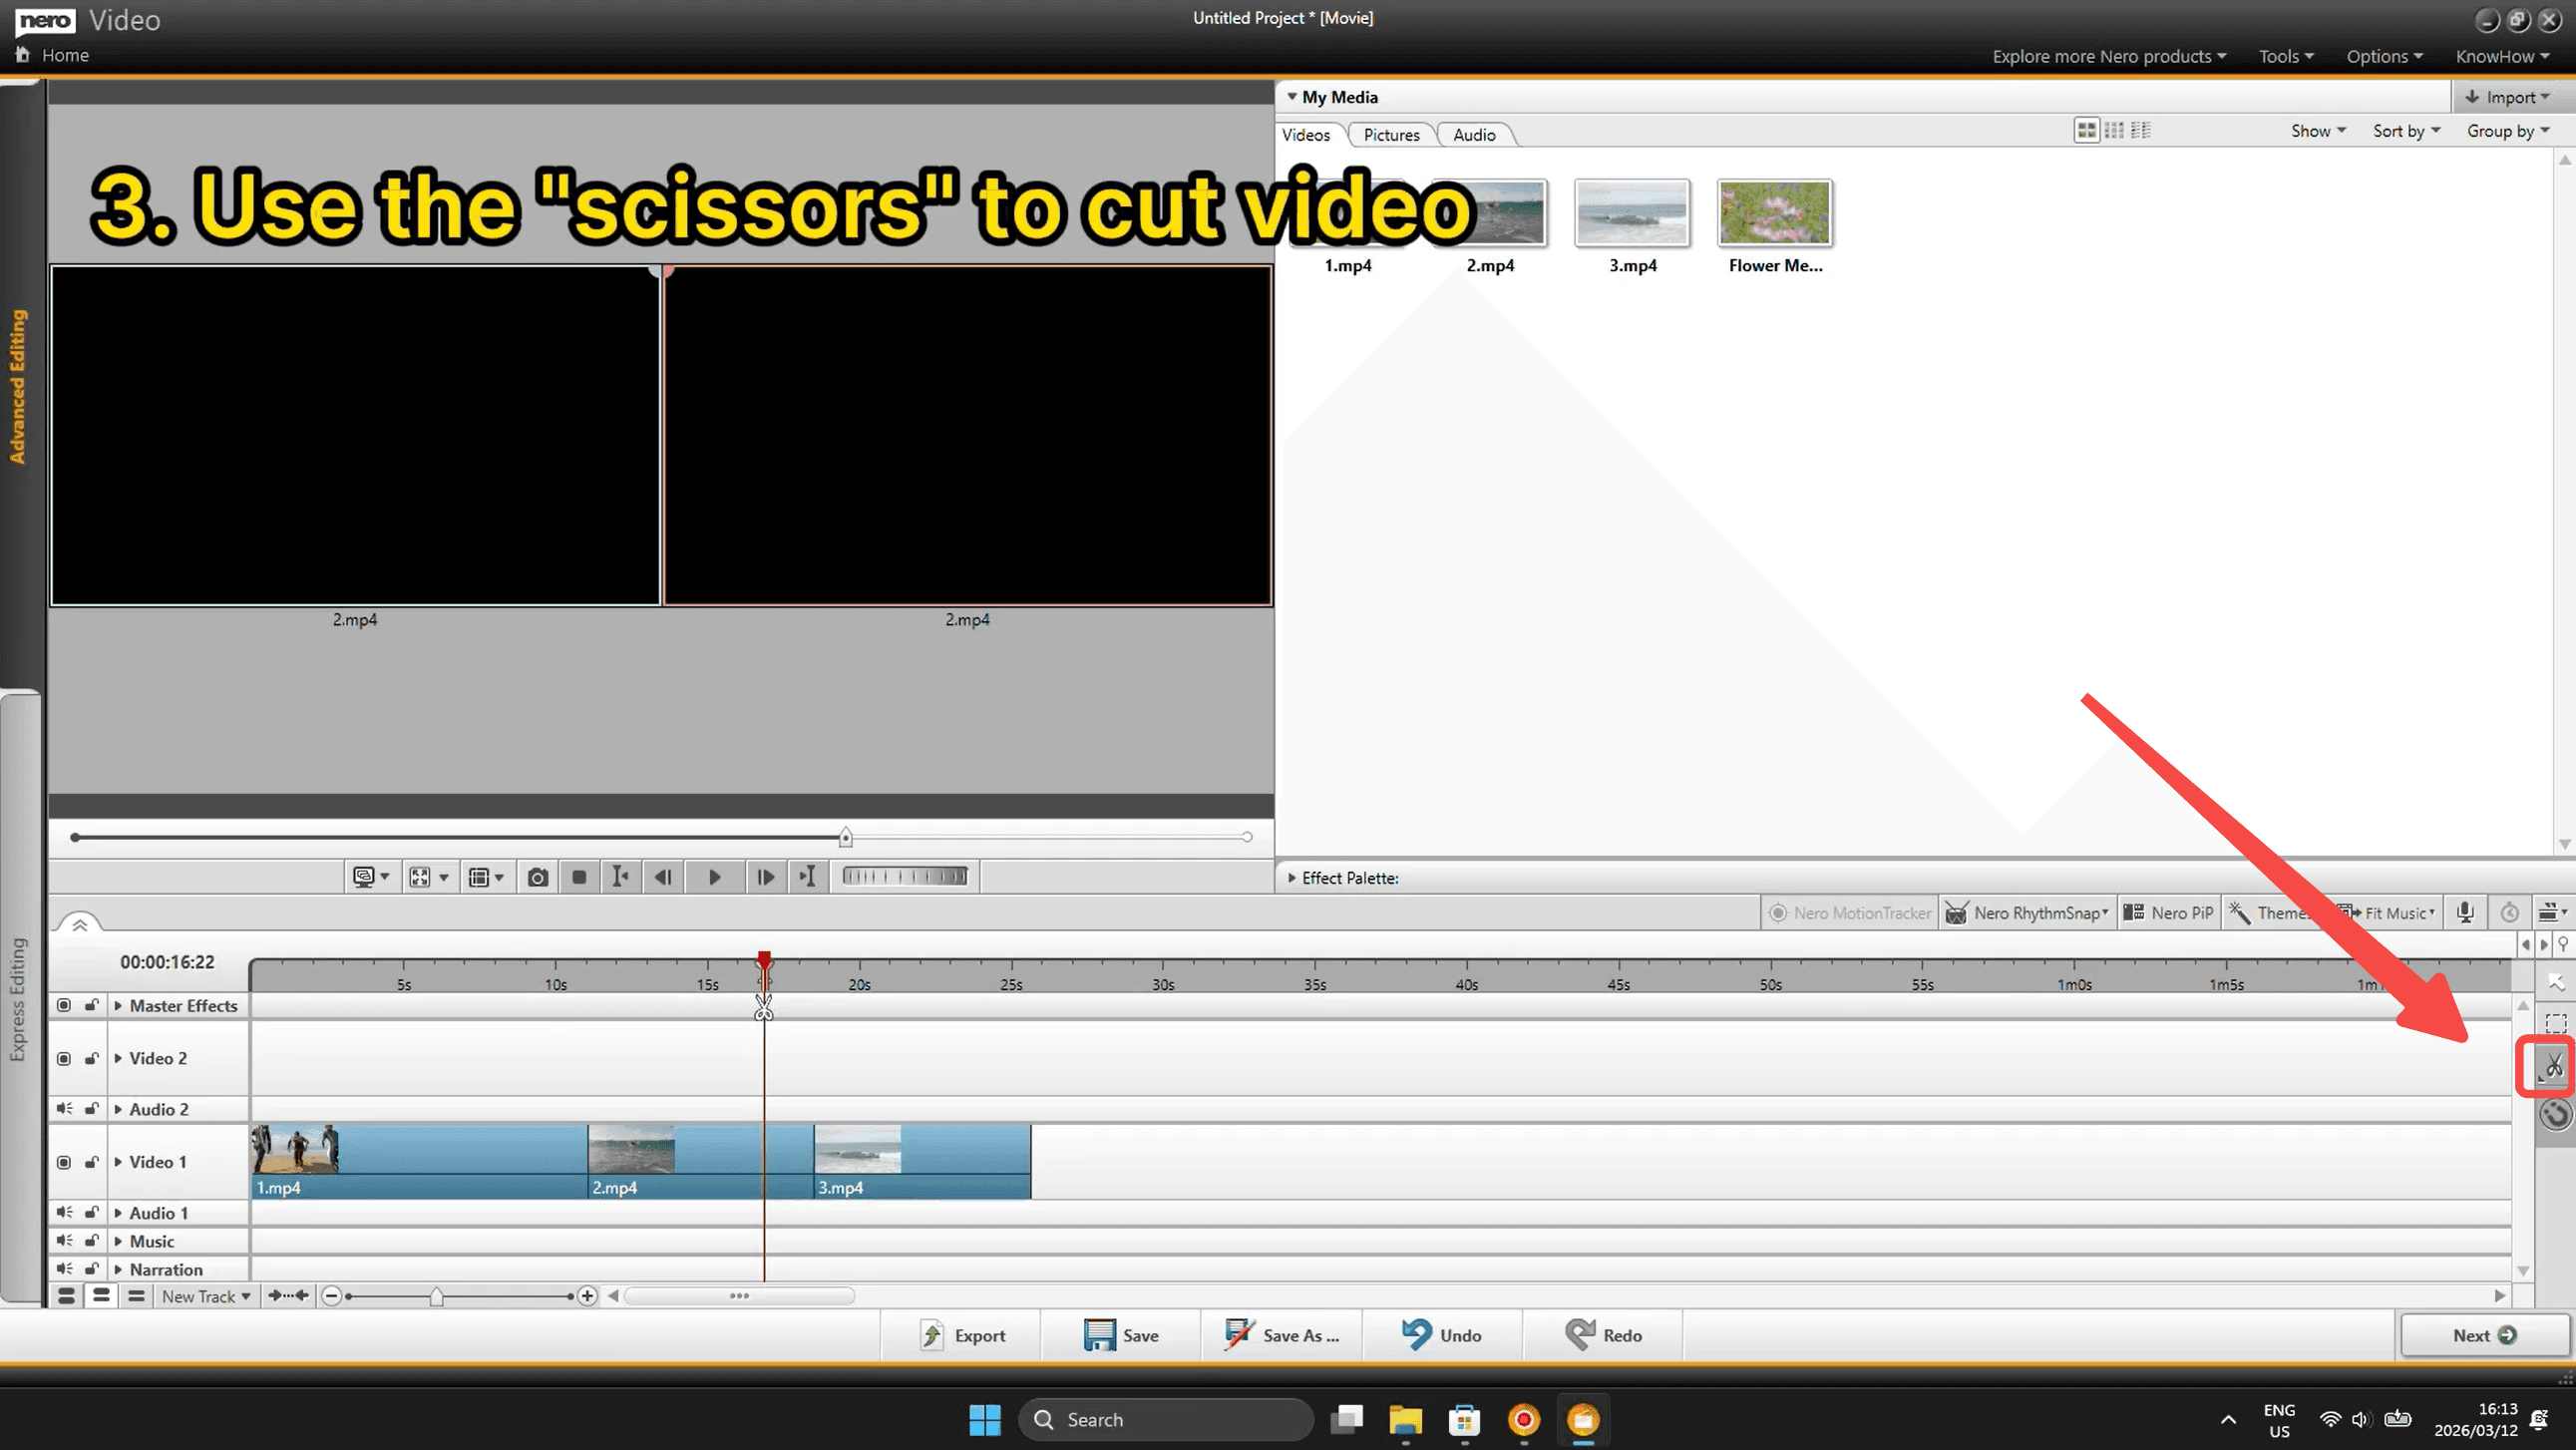
Position the playhead at the point where you want to make a cut, then use the scissors (split) tool — found in the right-side toolbar of the timeline. This splits your clip into two separate segments, so you can delete unwanted sections or rearrange parts of your video.
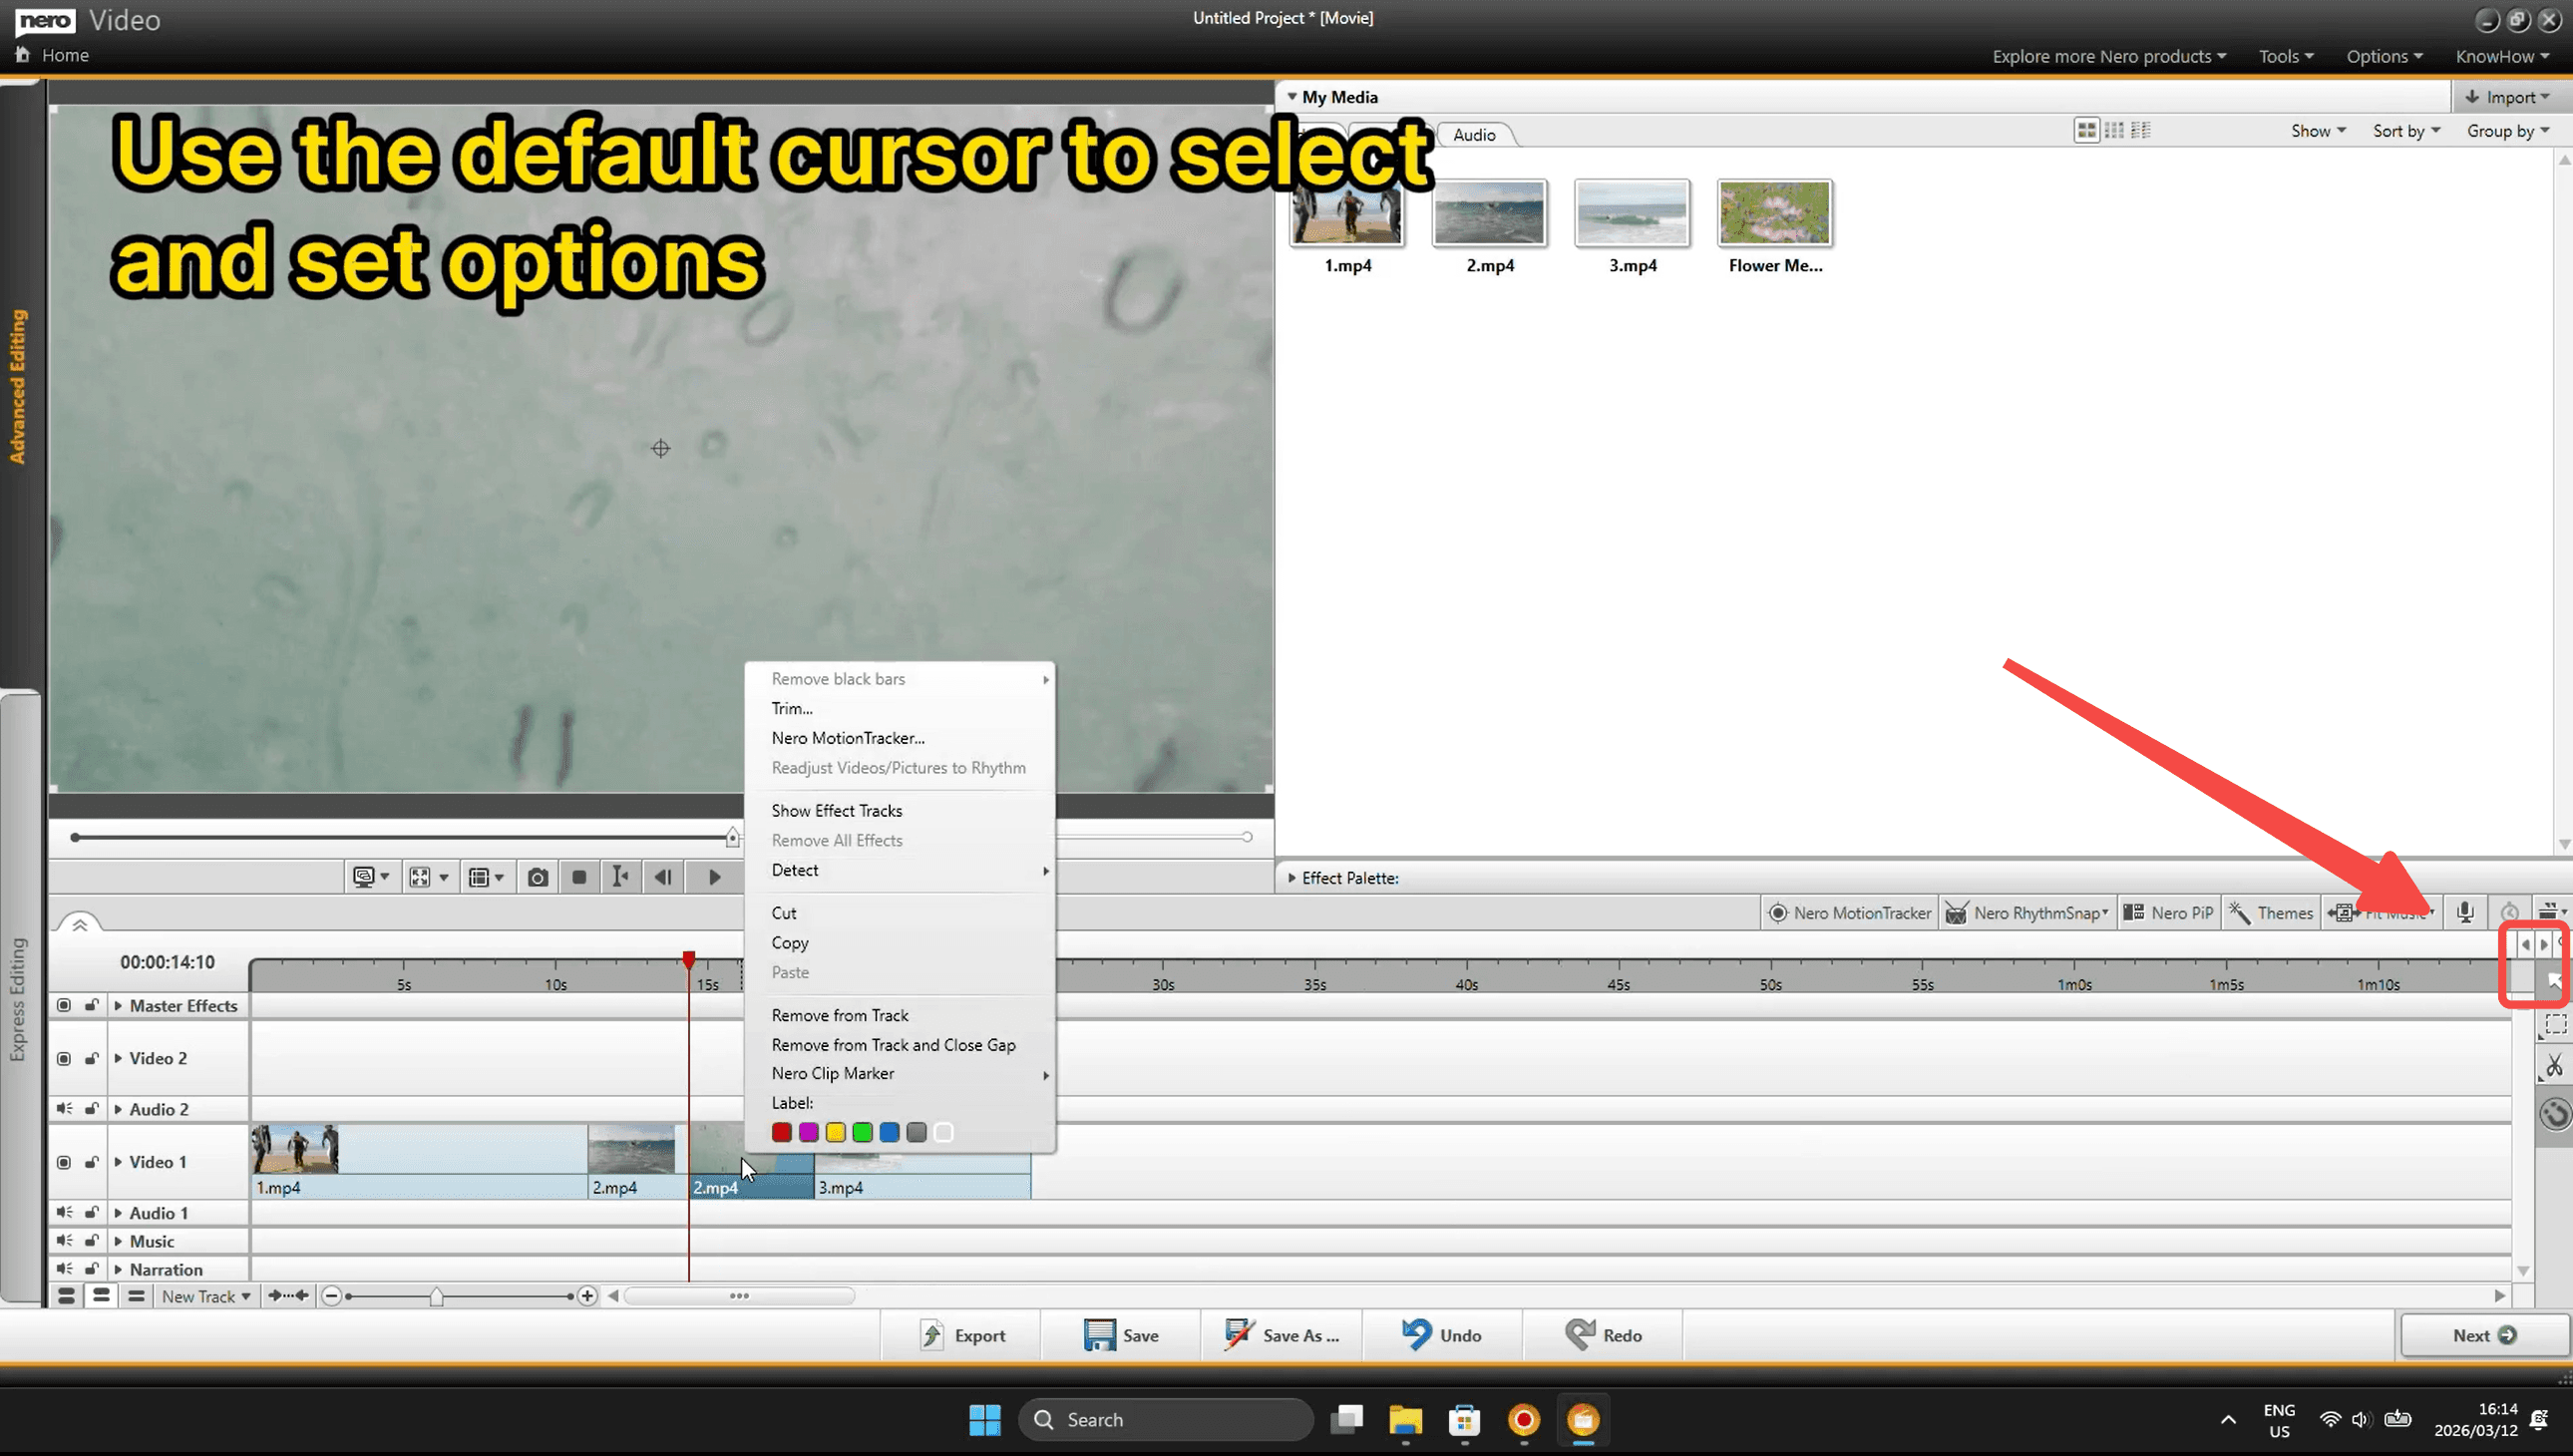
Step 5: Select & Set Options with the Default Cursor
Switch back to the default arrow/cursor tool to interact with clips on the timeline. Right-clicking any clip gives you a context menu with options like Trim, Remove from Track, Remove and Close Gap, Add Label, and more. This is your go-to tool for making precise edits.
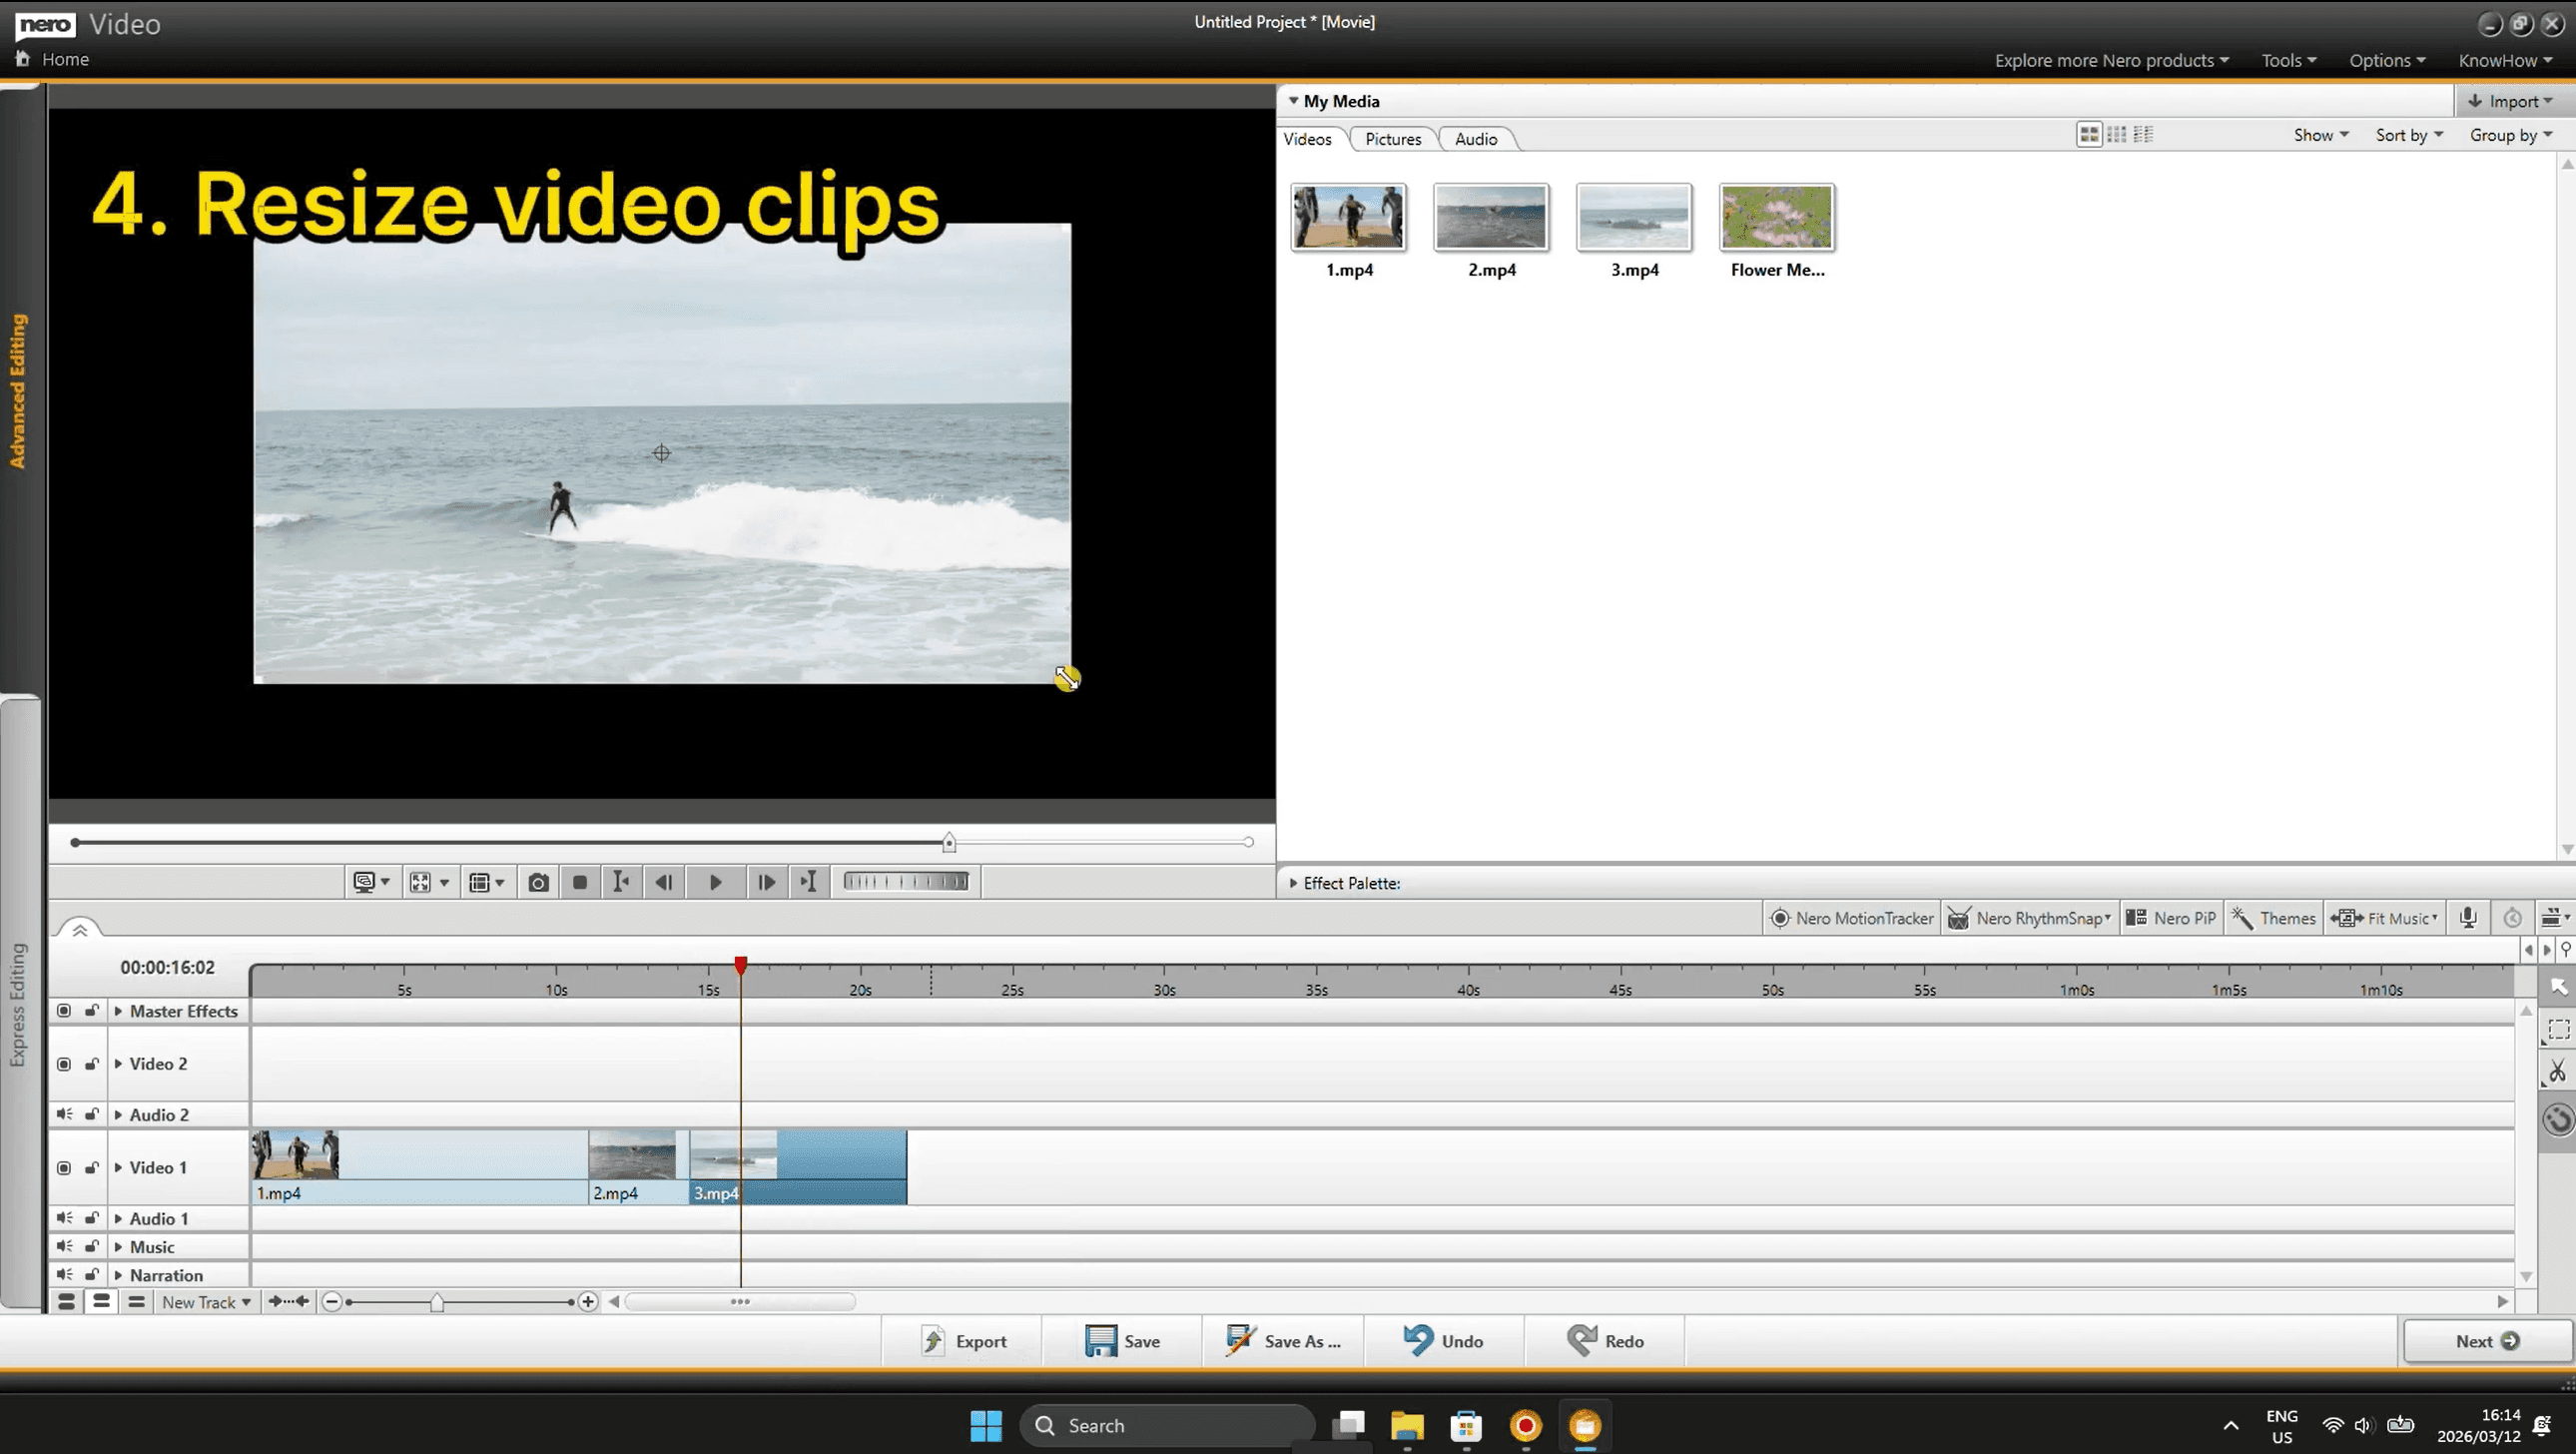
Step 6: Resize Video Clips in the Preview
When a clip is selected, you'll see it displayed in the preview window with a visible resize handle (look for the yellow arrow cursor at the corner). You can drag the corner to scale the video within the frame — useful for picture-in-picture setups or adjusting framing.
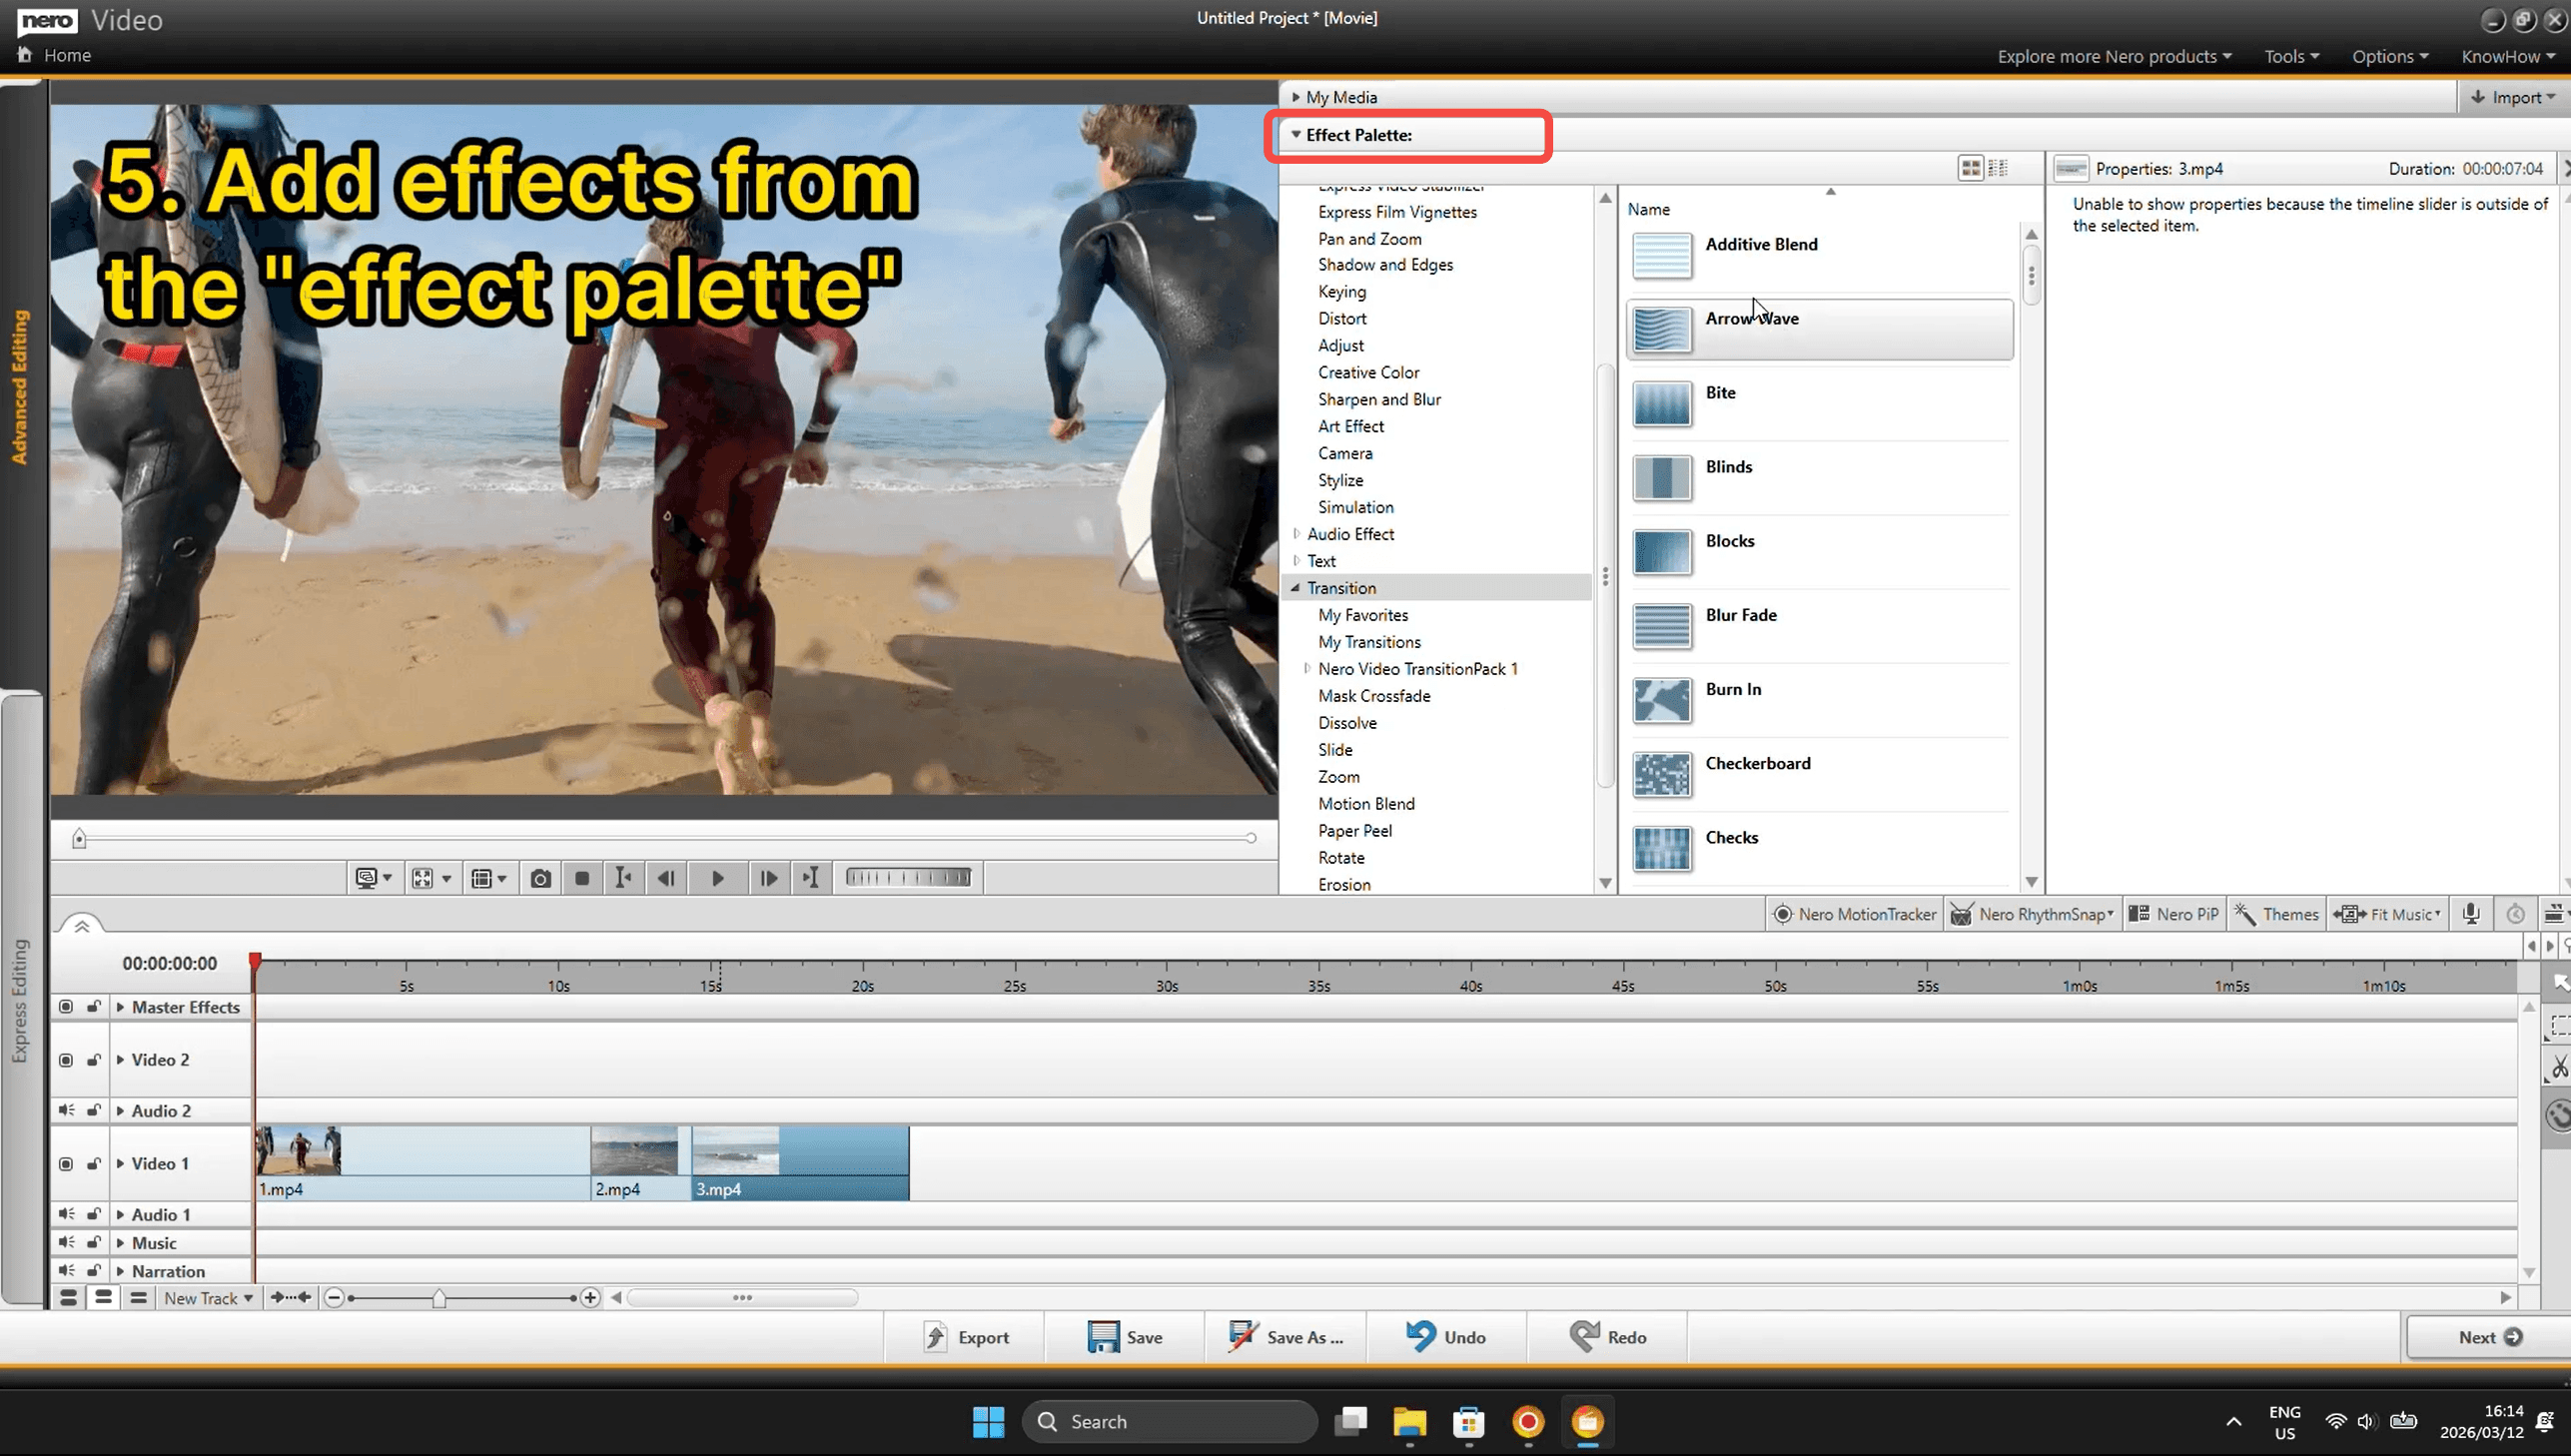
Step 7: Add Effects from the Effect Palette
Click on Effect Palette in the top panel to expand a full library of effects. Categories include Transitions, Distort, Sharpen and Blur, Creative Color, Simulation, and more. Browse the thumbnail previews on the right and drag any effect directly onto a clip in the timeline to apply it instantly.
Step 8: Add Music to the Music Track
Click the Audio tab in the My Media panel to access Nero's built-in Seamless Music library — 30 royalty-free tracks that auto-adapt to your video length. Just drag your chosen track (e.g. "Flying Silhouettes") down to the Music track at the bottom of the timeline.

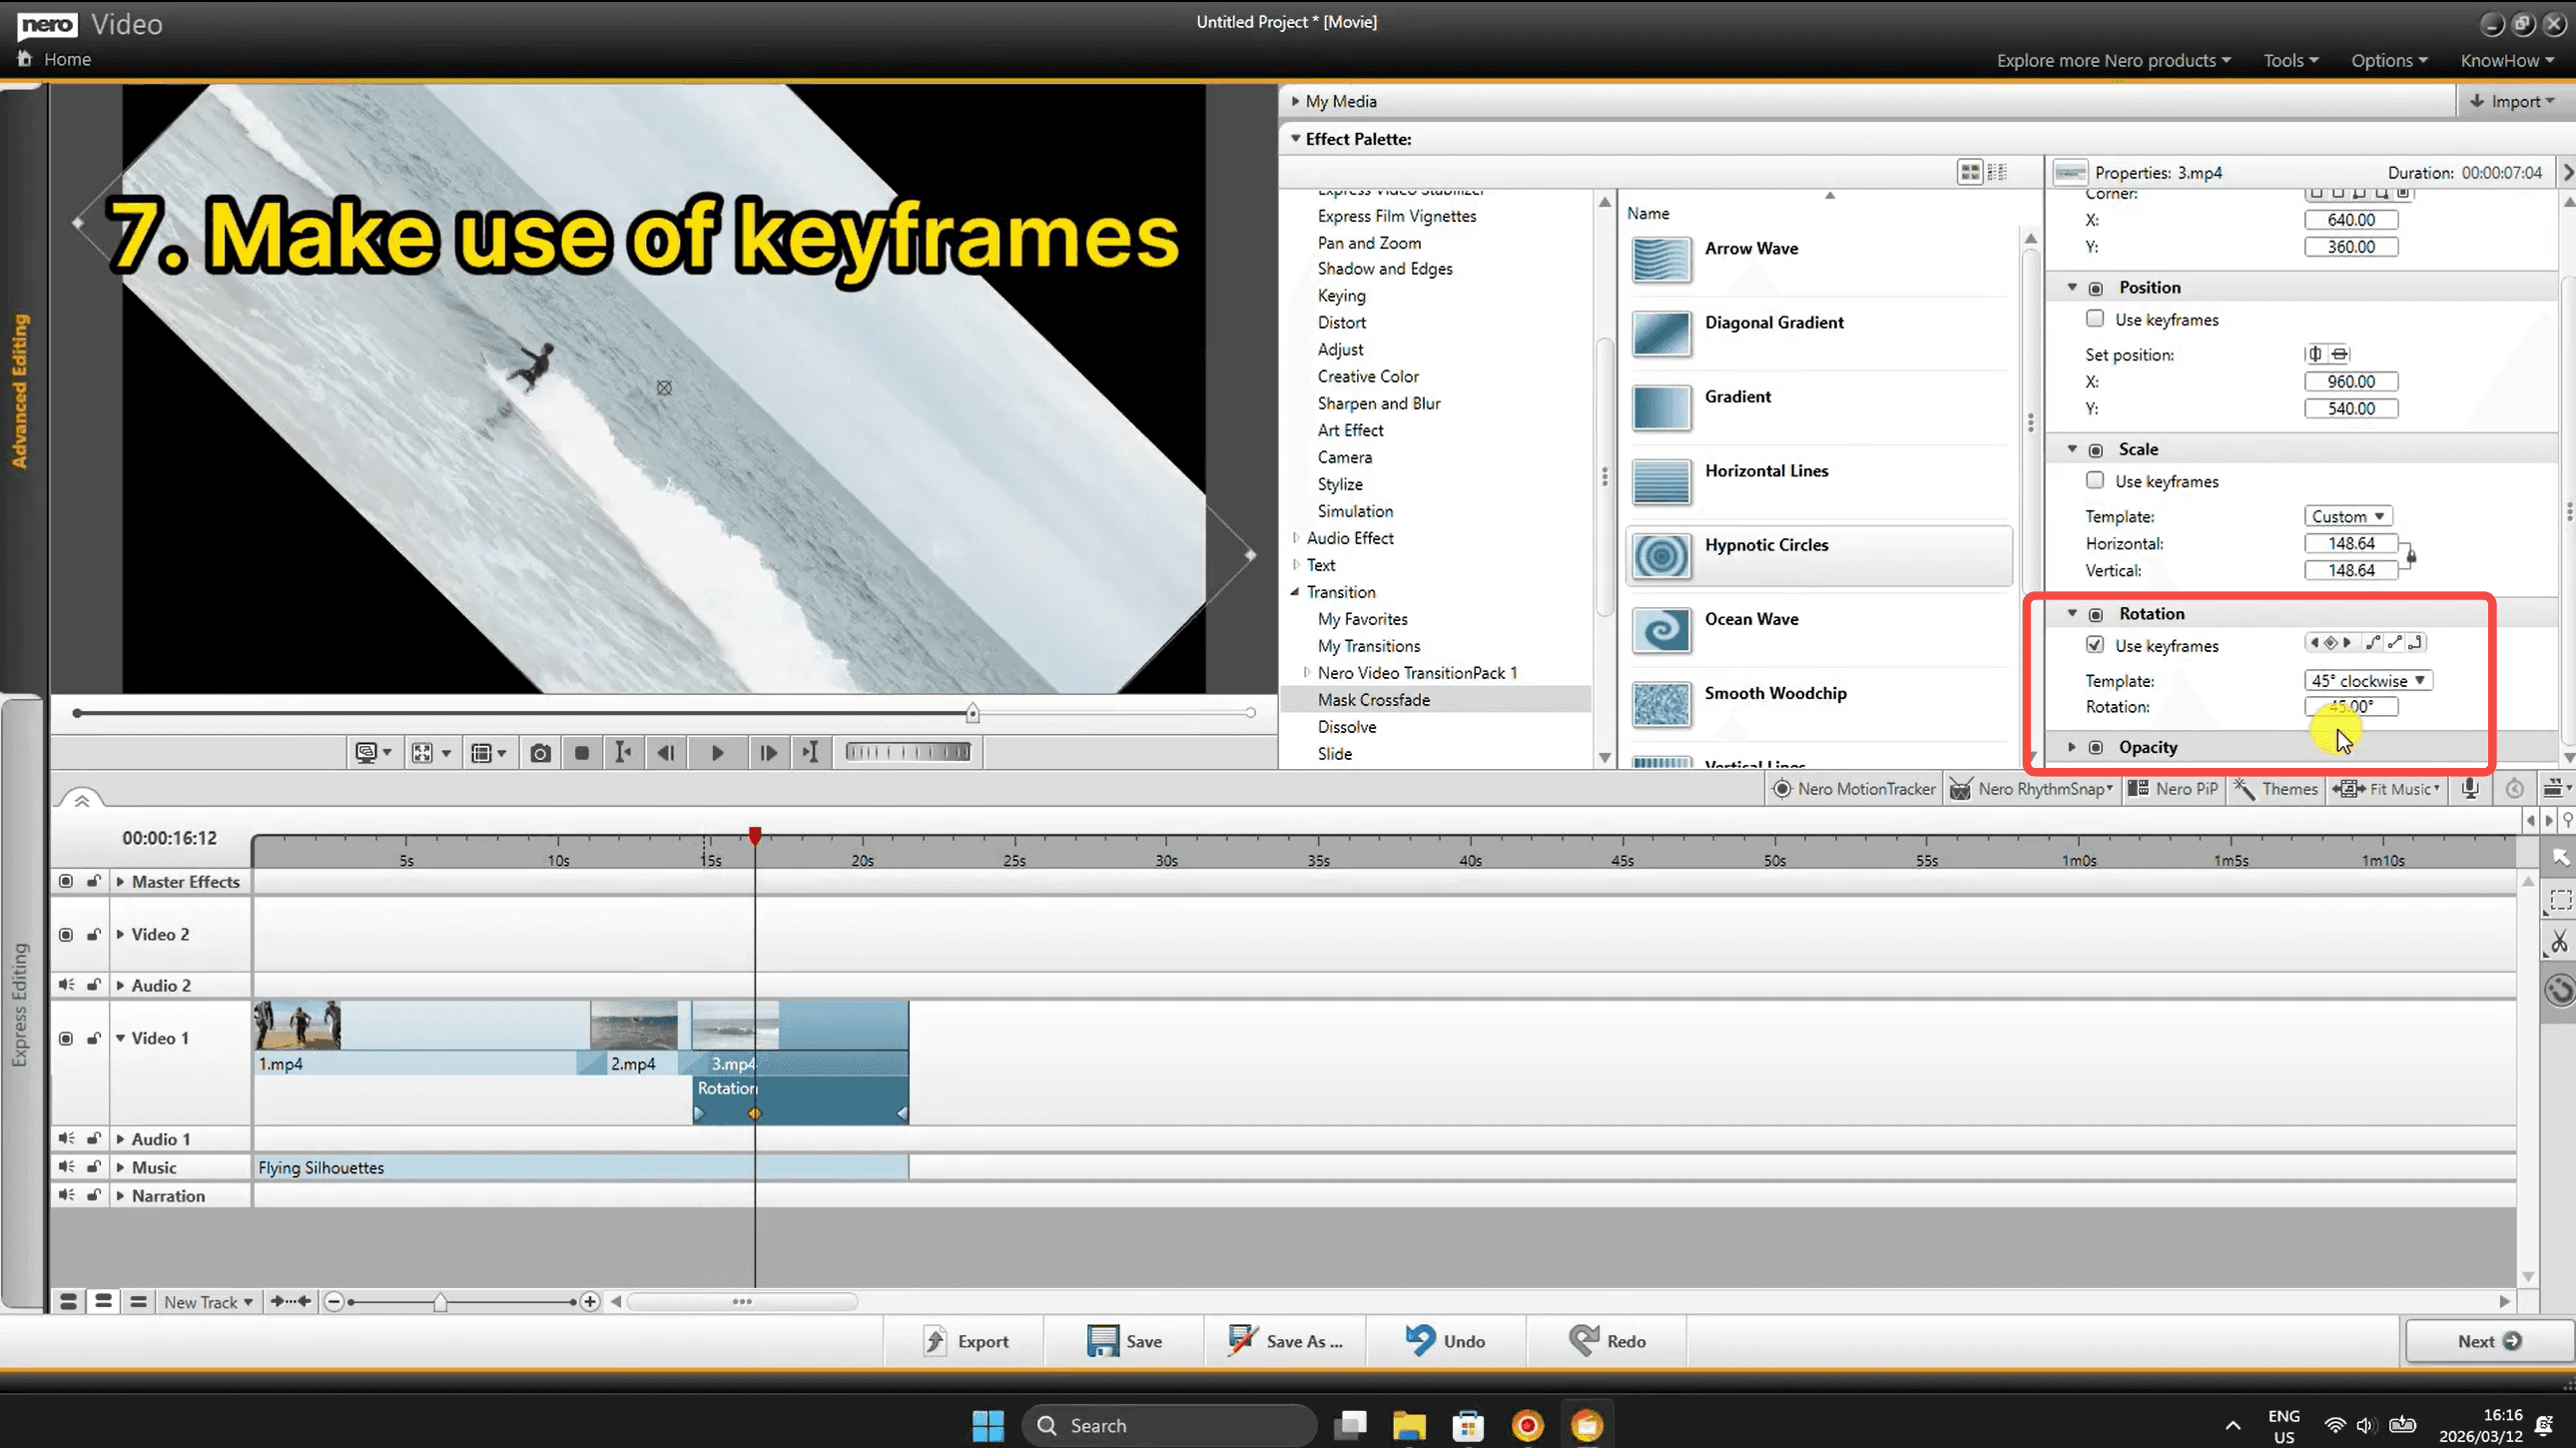
Step 9: Use Keyframes for Advanced Motion
Select a clip and open its Properties panel on the right. You'll see parameters like Position, Scale, Rotation, and Opacity. Check "Use keyframes" on any property (e.g. Rotation) to animate it over time. Move the playhead to different positions and change the value — Nero Video automatically creates smooth motion between those points.
Ready to Try It?
Nero Video's Advanced Mode gives you professional-grade control without a steep learning curve. Whether you're building a travel montage or a polished short film, these 9 steps cover everything you need to get started.


